Morning light has a way of exposing every countertop flaw. The dull patch beside the cooktop that disappeared at night now looks like a cloudy island in an otherwise even surface. If your Corian countertop has fine scratches, scattered scuffs, or a tired-looking finish, polishing Corian countertops may bring it back without replacement, but only if you match the repair to the sheen already on the surface.
The practical rule is simple. Remove only enough material to erase the damage, then recreate the surrounding finish with the right abrasive and pad. Over-polishing can create a shiny patch that looks worse than the original wear.
Table of Contents
- Why Corian Is the Countertop You Can Actually Bring Back
- Tools, Materials, and Safety Gear You Need
- Surface Prep and the Field-Repair Buffing Method
- Matching the Right Finish to Your Existing Sheen
- Stepping Up to Semi-Gloss and Full Gloss Finishes
- When Polishing Is the Wrong Move for Your Kitchen
- Care Routine Plus Help From a South Jersey Pro
Why Corian Is the Countertop You Can Actually Bring Back
A homeowner with a scratched island often assumes the whole slab is finished. Corian gives you a better option because it's a solid-surface material, not a decorative surface layer sitting over a different core. The color and pattern extend through the material, so ordinary surface wear can often be abraded away and blended rather than concealed with a coating.
That's the practical difference between a fine scuff on Corian and damage to a printed or laminated surface. A careful repair can remove the damaged top layer, then restore a consistent texture around it. The result depends less on aggressive polishing than on controlling the scratch pattern and feathering the repair into the undamaged field. The Cabinet Coach's overview of Corian countertops offers useful material context before you decide whether the surface is suitable for a repair.
Refinisher's rule: Corian is renewable, not indestructible. Surface scratches are one job. Cracks, open seams, and deep gouges are another.
For light wear, a wet abrasive pad or fine sandpaper can be enough. Corian's own care guidance describes scratch restoration as a repeatable maintenance process. For a matte finish, the manufacturer recommends removing scratches with P240 grit sandpaper or 60 μ paper, then rinsing and buffing with a maroon Scotch-Brite 7447 A VFN pad in circular motion. The same guidance specifies a gray Scotch-Brite 7448 S ULF pad for semi-gloss work and describes a wet buffing cycle for refining that finish. Corian's care and maintenance guidance is the reference to keep nearby while you work.
DIY makes sense for fine scratches, minor dullness, and some small scorch marks that haven't penetrated. Stop when you see a crack, seam separation, a deep cut, or damage that remains after controlled sanding. At that point, a professional may need to remove and replace a section, color-match a patch, or refinish a larger continuous run. If you're comparing replacement materials instead, a resource covering city-approved countertop selections can help you separate repair work from a full material decision.
Tools, Materials, and Safety Gear You Need
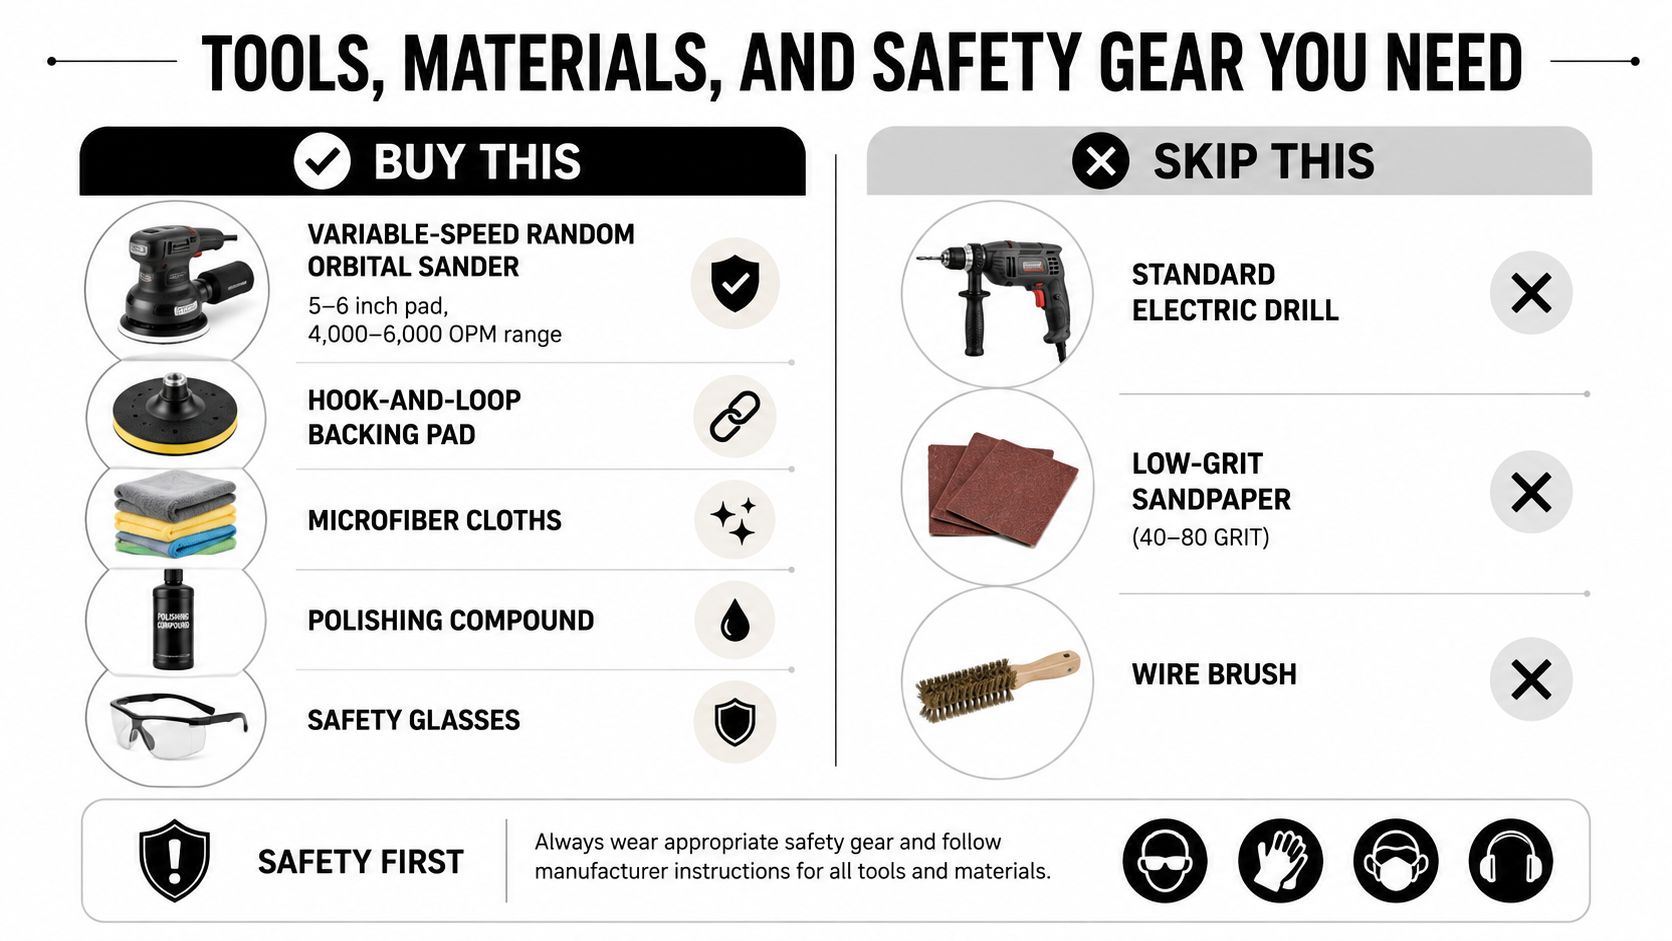
Buy tools that let you control pressure, speed, moisture, and the size of the repair. A variable-speed random orbital sander with a 5 to 6 inch pad and a working range of 4,000 to 6,000 OPM gives you better control than a fixed-speed tool. Use a hook-and-loop backing pad so you can change abrasives and non-woven pads without fighting the attachment.
What to buy
- Abrasive pads: Keep maroon Scotch-Brite 7447 and gray Scotch-Brite 7448 pads available for finish blending.
- Wet sanding sheets: Use silicon carbide wet/dry paper in 400, 600, 1000, and 1500 grit when the repair requires a controlled progression.
- Buffing materials: A lamb's wool bonnet, automotive finishing compound such as 3M Perfect-It, clean microfiber cloths, clean water, and denatured alcohol cover the preparation and polishing stages.
- Safety equipment: Wear safety glasses, nitrile gloves, and an N95 respirator when sanding. A shop vac helps collect dust before it spreads through the kitchen.
What to skip
Skip a drill-mounted polishing pad. A drill concentrates movement in a small area, making it easy to generate heat, dig a depression, or burn the surface before you notice the problem. Wire brushes, very coarse abrasives, abrasive powders, and random kitchen oils also belong off the counter. Oil can leave a temporary wet-looking effect without restoring the finish, and it may complicate later cleaning.
A basic DIY kit can be assembled for about $80, while a more professional setup may reach about $250. Those amounts are practical budget tiers, not guarantees, because tool quality and what you already own will change the total. Before buying, review broader material considerations in this guide to choosing countertops for Central Texas homes, especially if the repair has turned into a renovation decision. For background on solid-surface choices, this overview of man-made countertop materials is also relevant.
Surface Prep and the Field-Repair Buffing Method
Preparation determines whether the repair blends or announces itself. Clear the counter completely, remove items around the sink, and tape the backsplash, wall, cooktop, and adjacent surfaces. You need an uninterrupted work area because stopping at the edge of a dull spot often creates a visible boundary.
Wash the surface with clean water first, then use denatured alcohol to remove cooking residue, grease, and old polish buildup. Residue is the silent cause of many hazy patches. It loads an abrasive pad unevenly, changes how the pad contacts the surface, and makes a technique problem look like a material problem.
For an isolated dull spot on a matte or satin surface, wet the area and hold a maroon Scotch-Brite pad in your hand rather than attaching it to a high-speed tool. Work in overlapping circular strokes with moderate pressure. Don't stop exactly at the damaged area. Feather your strokes well beyond the spot so the new texture gradually merges with the surrounding finish.
Rinse the area thoroughly and wipe it dry before judging the result. A wet counter can hide a mismatch, while residue can make a successful repair look cloudy. If the maroon pad has removed the defect but left a stronger scratch pattern, refine that pattern with a gray Scotch-Brite pad. Use lighter pressure and a wider blending area.
Check the surface dry: A repair isn't finished when the scratch disappears under water. It's finished when the dry texture and sheen sit naturally beside the original surface.
This hand-finishing method suits small repairs because it limits heat and keeps you connected to the surface. If the damage spreads across a full run, the same motion becomes difficult to keep uniform, and a machine-assisted refinishing process may be more appropriate. Before comparing repair options with other materials, review this discussion of solid surface versus quartz.
Matching the Right Finish to Your Existing Sheen
Don't start sanding until you know what you're trying to reproduce. Hold a flashlight low and flat against the counter. A soft, blurred reflection generally indicates a matte or satin surface. A sharper reflection with some haze suggests semi-gloss. A near-mirror reflection indicates gloss.
The target matters because every abrasive leaves a characteristic texture. DuPont and Corian documentation describes finishes across a typical gloss range of 5 to 75, from matte to highly polished, so a spot repair should match the existing level rather than automatically chase maximum shine. The finishing and polishing technical bulletin reinforces the central point: the finish around the repair is your reference.
| Finish | Wet Sand Range | Scotch-Brite Pad | Final Buffing Step |
|---|---|---|---|
| Satin | 400 grit, about 30 micron, where sanding is needed | Gray non-woven pad | Blend the pad pattern evenly, without a high-shine compound |
| Semi-gloss | 600 grit, about 20 micron, after preparation | Gold non-woven pad in the specified progression | Refine with the appropriate buffing stage |
| Gloss | 1000 grit, about 18 micron, followed by finer finishing work | White non-woven pad | Low-speed polisher, lamb's wool bonnet, and polishing compound |
The technical guidance distinguishes color families as well. For light colors, Corian care instructions use a P240 and P400 sequence before pad finishing. Dark colors can require an additional P600 refinement before buffing with a gray Scotch-Brite pad, because uneven texture and haze can be more apparent against darker fields. The manufacturer's finishing and polishing guide is the safer authority when its sequence differs from a generic sanding chart.
Choose the least aggressive route
For a light scuff on satin or matte Corian, start with the matching non-woven pad before reaching for sandpaper. Semi-gloss repairs need more deliberate grit control. Gloss repairs demand the most patience because every leftover sanding mark can show in the reflection.
A common mistake is choosing a grit based on the damage alone. Choose it based on both the damage and the finish you must recreate. A coarse correction followed by an incomplete refinement can leave a visible patch even when the original scratch is gone.
Stepping Up to Semi-Gloss and Full Gloss Finishes
A sheen upgrade is different from a repair. You're not merely erasing damage. You're changing the visual character of the surface, so work on a test area first and decide whether the new reflection suits the rest of the kitchen.
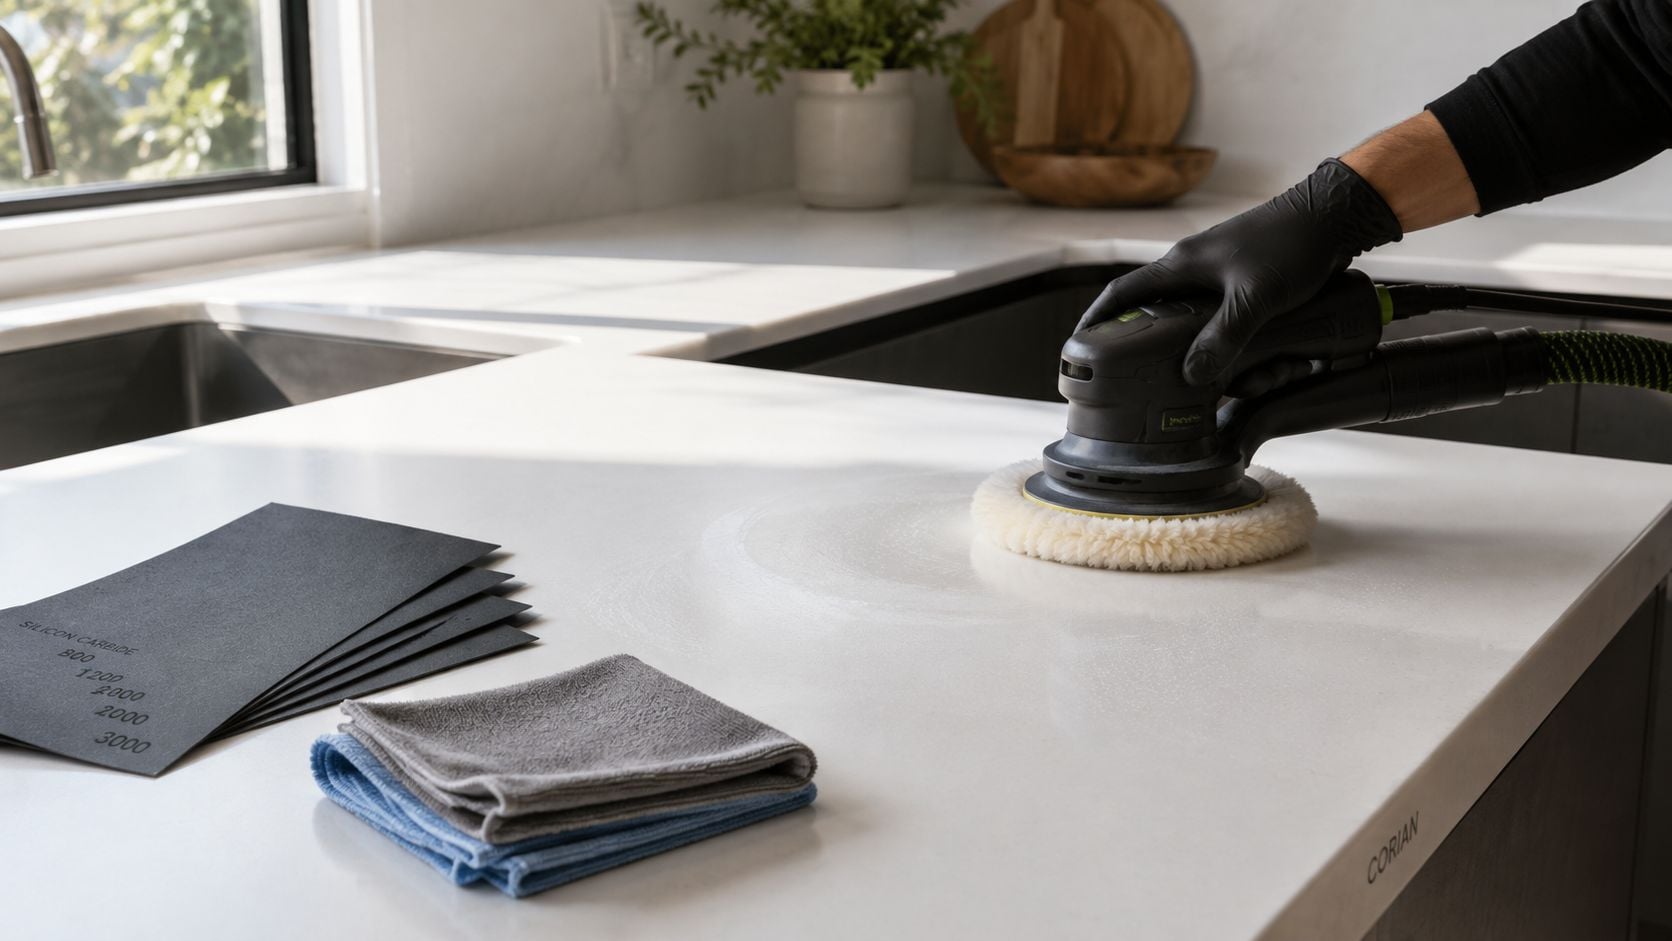
Use a random orbital sander at a controlled speed, keeping the counter damp with a spray bottle. Begin at 400-grit wet sanding when the surface needs preparation, and make overlapping passes in a crosshatch pattern. Advance only after the previous scratch pattern has disappeared. Move through 600 grit, then continue toward 800 and 1000 or 1200 for semi-gloss work. Full gloss requires a longer progression through finer wet abrasives, including 1500 and 2000 grit.
The exact sequence should follow the finish target and the manufacturer's guidance for the color and surface. Skipping a grit rarely saves time. It usually leaves deeper marks that the next abrasive can't remove efficiently.
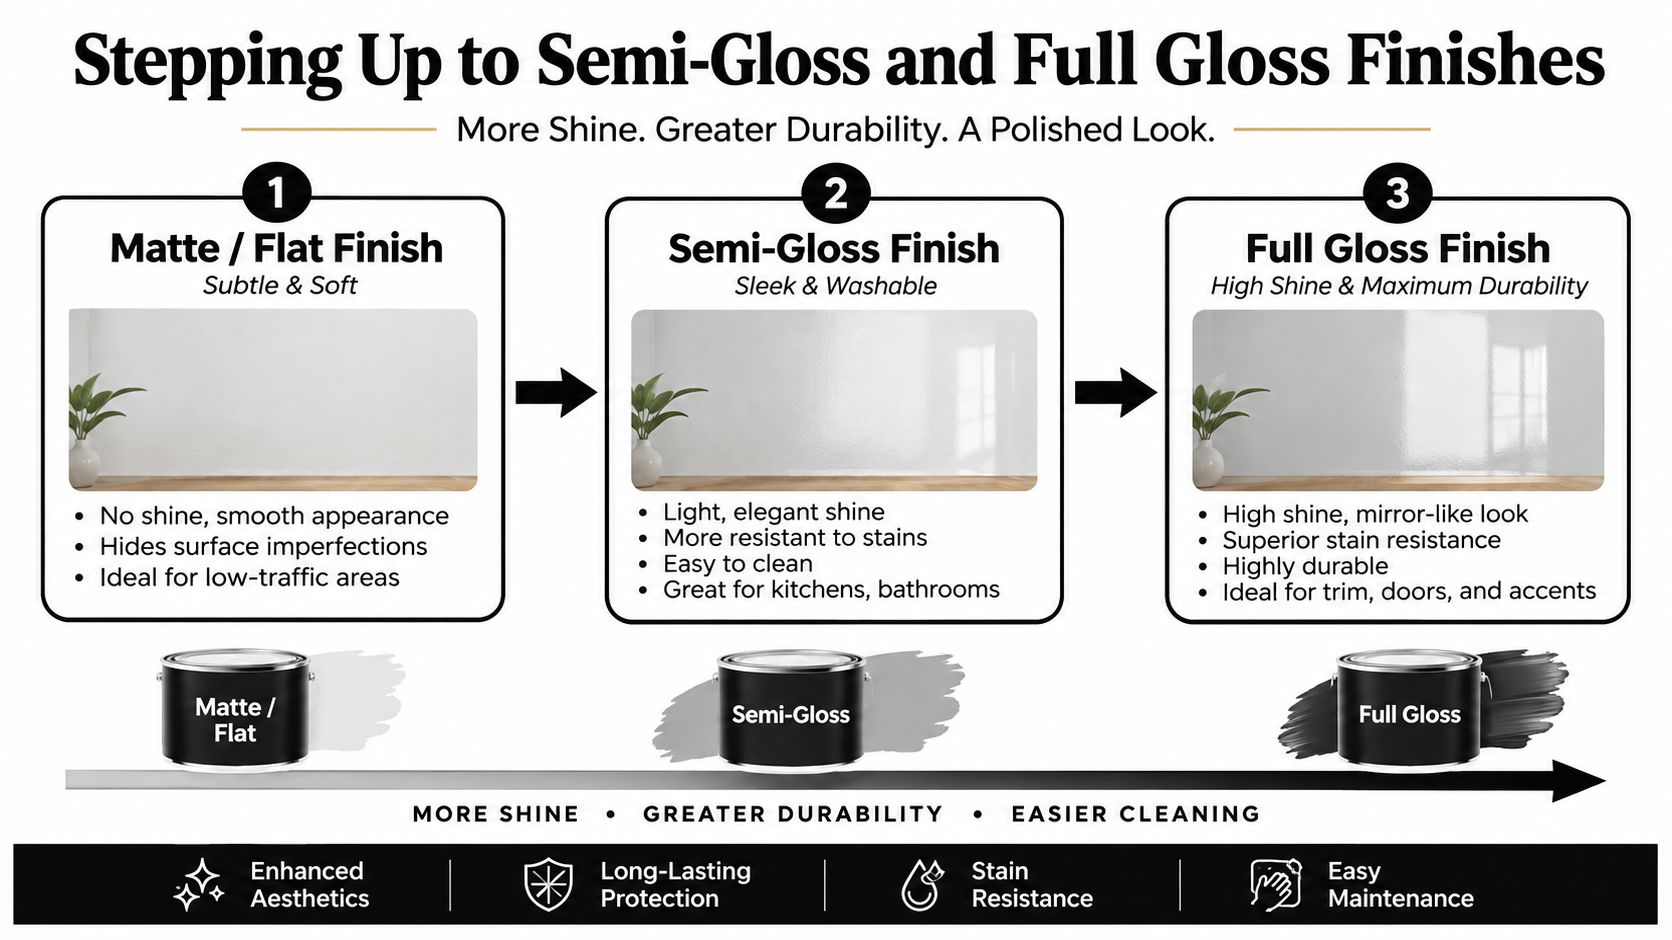
Dry the counter fully with a microfiber towel before buffing. Apply a small amount of fine automotive polishing compound to a lamb's wool bonnet. Work a manageable section with overlapping passes at a low, controlled speed, then wipe the residue away before it dries.
For full gloss, a plastic polish or swirl remover on a soft foam pad can refine the final reflection. Keep the pad moving, avoid pressing hard in one place, and never allow the pad to run dry on the Corian. Dry compound and heat can create the haze you're trying to remove.
The video below demonstrates the kind of controlled machine movement that matters during polishing.
When Polishing Is the Wrong Move for Your Kitchen
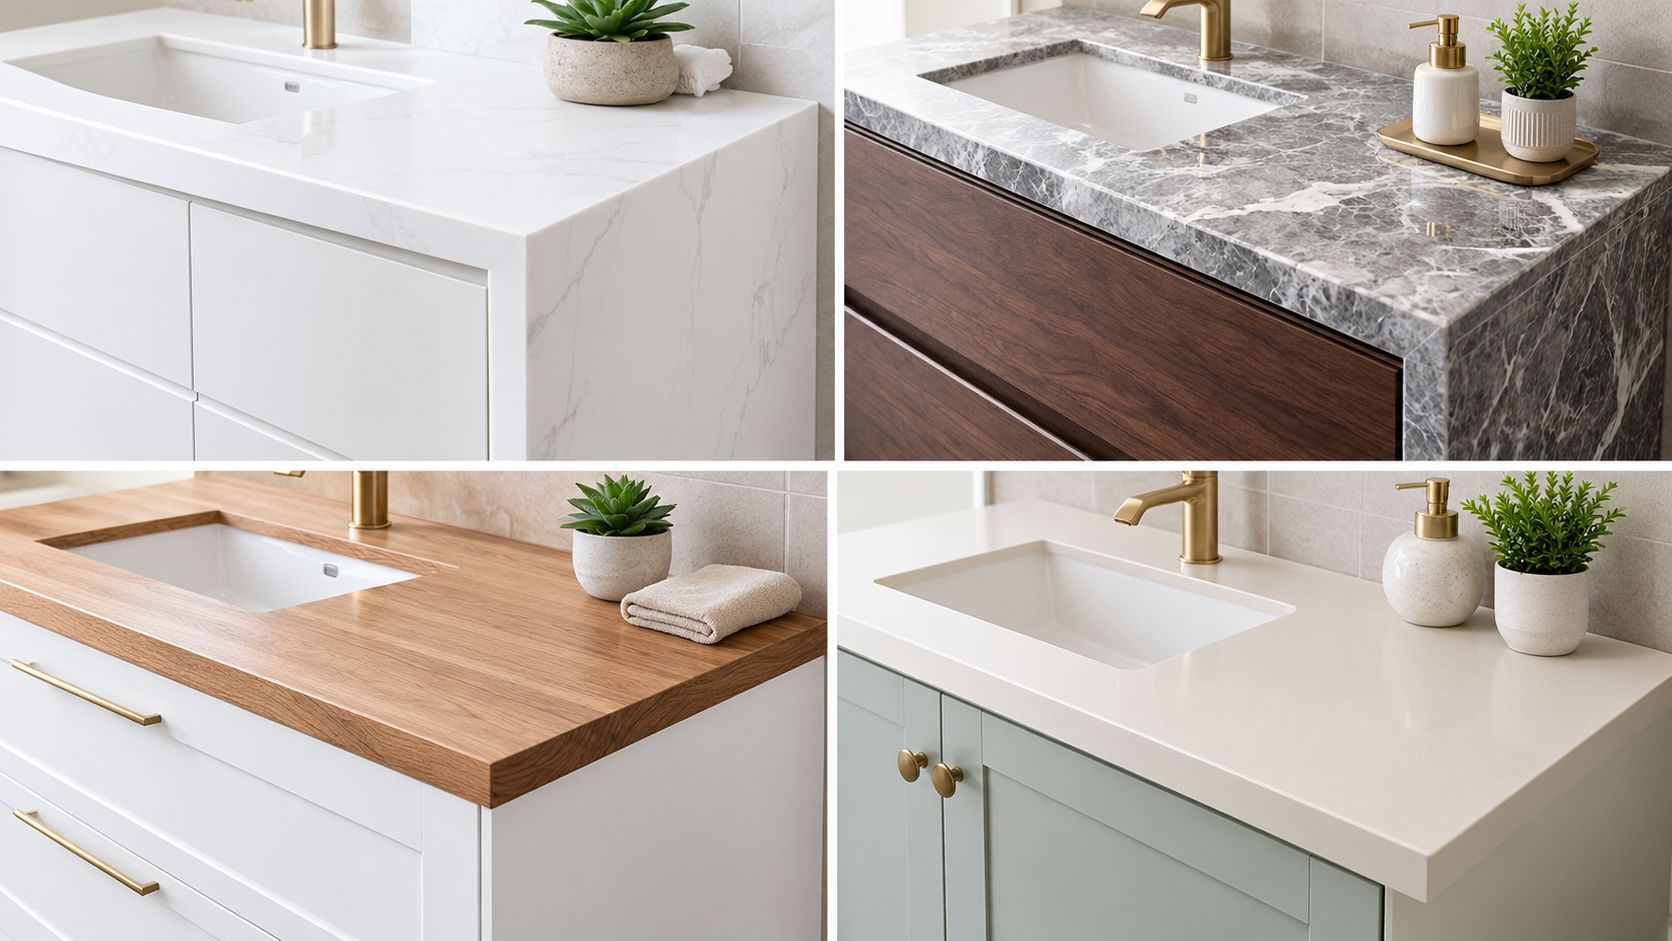
Polishing sounds like an improvement, but more shine isn't automatically better. Current kitchen design is moving toward matte and textured surfaces, so a high-gloss island can look disconnected from a room designed around soft, low-reflection materials. If your Corian was installed with a matte finish and you like that quiet appearance, the correct repair is usually to restore the matte character, not convert it into a reflective surface.
Stop after the maroon and gray Scotch-Brite stages when the original surface is matte or satin and the repair has blended. A compound and lamb's wool bonnet belong to a gloss upgrade, not to every countertop repair. Matching the existing sheen keeps the island, perimeter counters, backsplash, and cabinetry visually coherent.
Damage that needs more than polishing
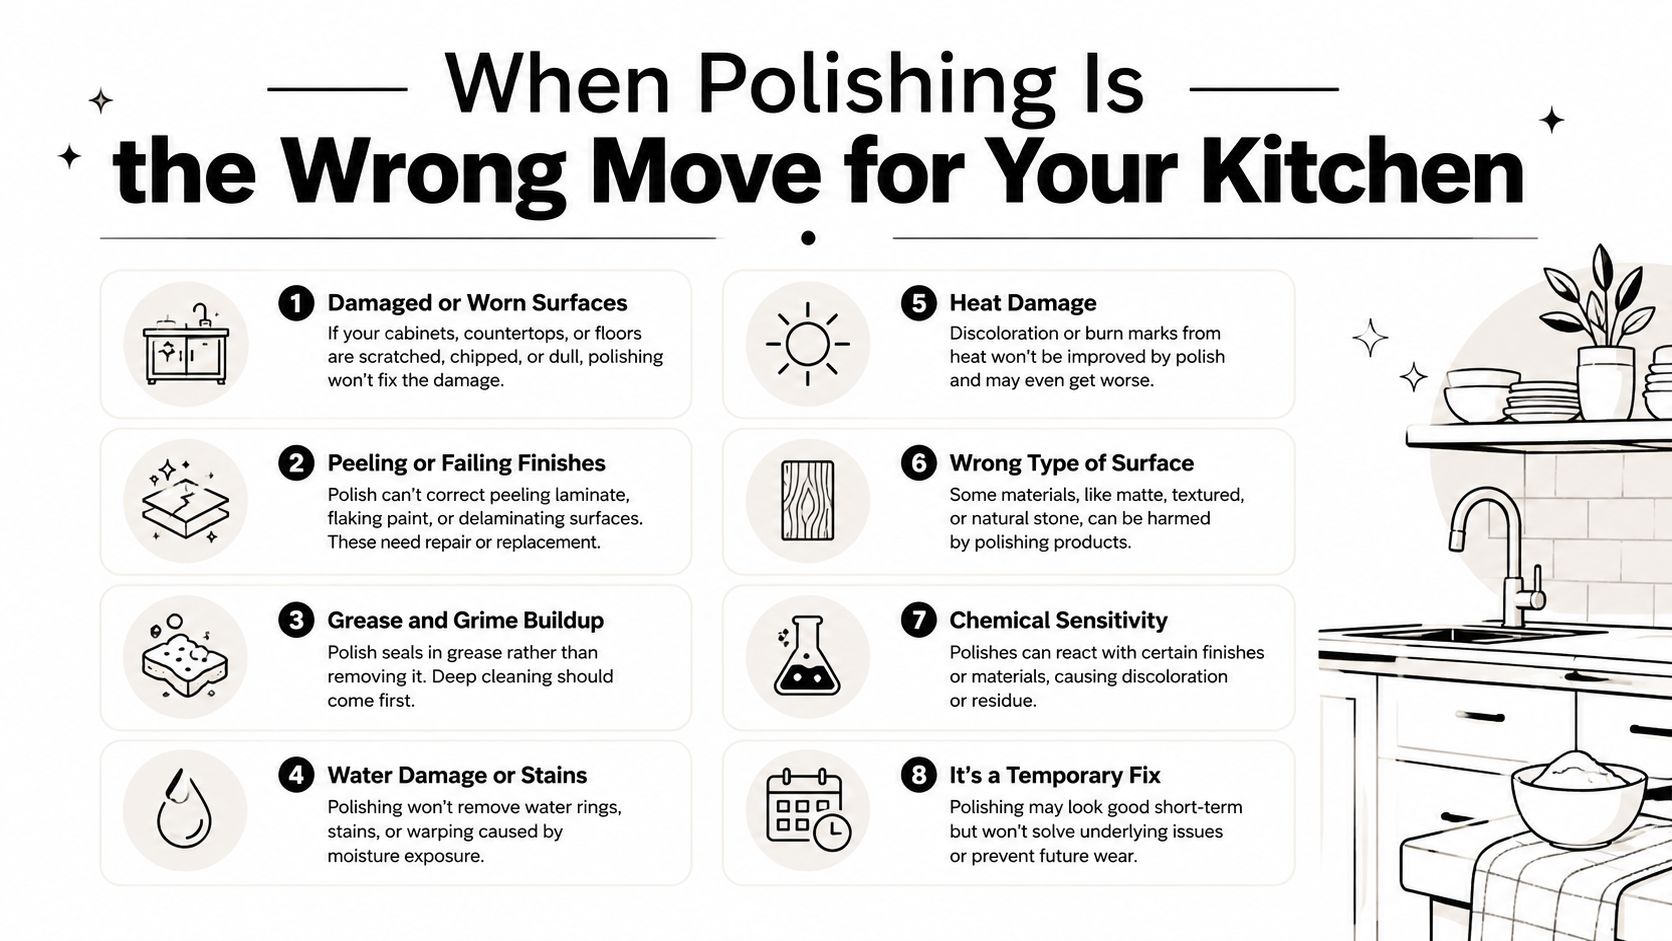
Polishing also isn't the right response to structural damage. Deep gouges, cracks near a sink seam, separated seams, and burns that extend into the material can remain visible or become more obvious after surface correction. Buffing removes surface material. It doesn't rebuild a broken seam or replace missing solid surface.
Use this guide to replacing kitchen countertops when the repair question has become a broader replacement decision. A refinisher can also evaluate whether a localized repair, a section replacement, or a full-run refinish makes sense. An even sheen blended across the complete run will always look more intentional than a spot-shined island beside dull perimeter counters.
Diagnose the failure before sanding again
Dull patches usually come from inconsistent pressure, a repair area that wasn't feathered far enough, or a skipped grit. Re-sand only the affected zone with the correct wet abrasive for the target finish, extend the blending area, and rework it with the matching Scotch-Brite pad.
Milky haze often comes from automotive compound or polishing paste left on the surface. Wipe with a damp microfiber cloth, follow with a dry buff, and use less compound on the next pass. More product won't compensate for poor residue removal.
Burn marks from a hot pan can resist light pad work. Start with controlled wet sanding at 400 grit, then resume the finish progression once the damaged material is removed. If the scorch is deep, stop before creating a depression and request a professional rebuff or repair.
Cloudy spots after water exposure may be mineral deposits rather than finish failure. Try a 50/50 white vinegar solution on a cloth, then rinse and dry. Don't start sanding a deposit that can be removed chemically.
Care Routine Plus Help From a South Jersey Pro
A refinished Corian surface stays more even when daily cleaning remains gentle. Wipe spills with a damp microfiber cloth and mild dish soap. Avoid abrasive powders, bleach, and acetone-based cleaners because they can alter the surface appearance and complicate sheen matching later.
Give the areas near the stove and sink extra attention. Those run zones collect the wear that eventually becomes visible beside less-used areas. Use the Scotch-Brite pad appropriate to your existing finish with light, even motion rather than waiting for one large dull patch to develop.
Coffee, wine, and turmeric should be cleaned promptly. Don't use a stronger chemical just because a stain looks stubborn. Start with mild cleaning, rinse completely, and assess the dry surface before considering a more abrasive treatment.
Know when to stop
Put the pad away and call a refinisher when you see:
- Deep burns: The damage remains after controlled wet sanding.
- Cracked or separated seams: The problem may be structural rather than cosmetic.
- Sink-area cracks: Movement or moisture can complicate a surface-only repair.
- Widespread dulling: A full run requires consistent technique and sheen control.
South Jersey homeowners who need more than spot polishing can review kitchen countertop installation services as part of a larger renovation assessment. The Cabinet Coach provides mobile showroom consultations and coordinates cabinetry, countertops, hardware, and tile for kitchen and bathroom projects in the region.
If your Corian has a small, finish-specific defect, start with the least aggressive pad and test in an inconspicuous area before touching the full counter. For deep damage, widespread dulling, or a renovation that includes new surfaces, visit The Cabinet Coach to discuss an on-site assessment and countertop options with a South Jersey remodeling team.