You open the cabinet under the kitchen sink to grab a dishwasher tablet and find a crowded tangle of bottles, a bent drain line, shutoff valves buried behind supplies, and a damp patch on the floor. The cabinet looked wide enough when it was ordered. In use, it feels like a narrow service hatch with a door.
That's the central mistake with a kitchen cabinet under sink. Homeowners often treat it like an ordinary base cabinet and add storage until every inch is occupied. A better design treats the space as a plumbing-access and moisture-management zone first, then fits storage into what remains. The sink basin, trap, supply lines, disposal, filtration equipment, and leak detection all get priority.
Table of Contents
- The Sink Base Cabinet Is Built Around the Plumbing First
- Dimensions, Clearances, and the Numbers That Matter
- Materials and Waterproofing That Actually Hold Up
- Organizing the Usable Space Without Blocking the Plumber
- Plumbing and Accessory Compatibility You Need to Plan For
- Matching the Sink Base to the Rest of the Kitchen
- A Short Pre-Order Checklist for South Jersey Renovations
The Sink Base Cabinet Is Built Around the Plumbing First
A typical base cabinet follows a simple pattern. You choose the width, add a door or drawers, install a shelf, and fill the space. The sink base doesn't cooperate with that formula.
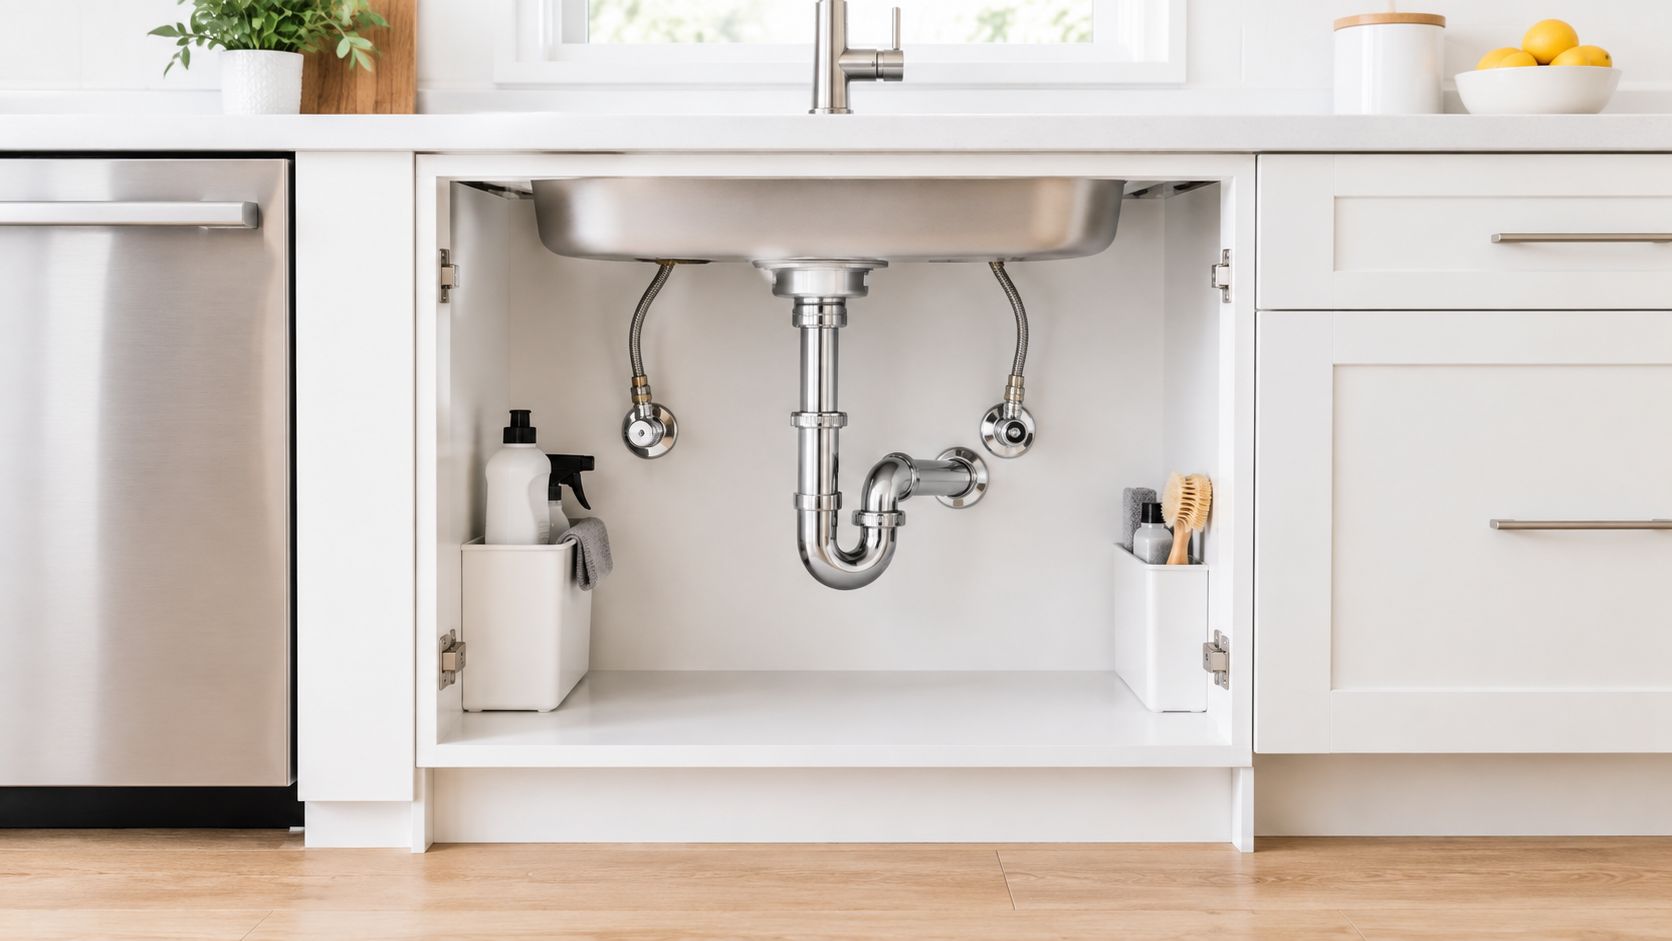
On a recent measuring visit, the cabinet looked generous from the front. Inside, the bowl occupied the upper center, the P-trap crossed the back, shutoff valves sat close to the wall, and a future garbage disposal needed room beside the drain. The plumbing and equipment had already consumed a substantial portion of the back of the cabinet before anyone discussed a bin or shelf.
That's why the exterior width tells you less than you expect. A sink base's usable storage depends on the sink depth, drain location, countertop thickness, pipe routing, and equipment list. A 30-inch or 36-inch cabinet may look substantial, but its interior is shaped around the void left by the sink and rough-in.
Start with the sink specification
Typical kitchen work surfaces sit around 36 inches above the finished floor, while sink bowls commonly measure approximately 6 to 12 inches deep, with many modern bowls falling within the narrower 8-to-10-inch range. Those measurements explain why a deeper sink can improve washing capacity while reducing vertical room below it. The same change can make the drain harder to reach and leave less clearance for a pull-out.
Before a cabinet order is finalized, confirm:
- The bowl depth, including any unusually deep workstation or farmhouse-style sink.
- The drain location, especially if it sits toward the rear or must clear a disposal.
- The countertop thickness, which affects the sink rim and the remaining cabinet height.
- The faucet configuration, including a filtration faucet, soap dispenser, or instant-hot control.
- The plumbing rough-in, including where supplies and drains enter through the wall or floor.
A kitchen layout resource such as this guide to RBA Home Plans kitchen layout can help you coordinate the sink location with the rest of the work triangle and cabinet run. For a dishwasher beside the sink, review the installation constraints before committing to an organizer, using this practical guide to installing a dishwasher in a cabinet.
Practical rule: Design the empty service space first. Whatever storage survives the plumbing layout is the storage you can safely use.
Dimensions, Clearances, and the Numbers That Matter
Under-sink planning gets easier once you stop measuring only the cabinet box. Measure the sink, countertop, rough-in, and access zone as one system.
The familiar work-surface height is around 36 inches above the finished floor, and common sink bowls range from approximately 6 to 12 inches deep. A bowl near the deeper end reaches farther into the cabinet and reduces vertical clearance. A shallower bowl can preserve access, which may matter for a seated user or anyone who wants easier reach to the valves and trap.
Confirm these dimensions before ordering
Measure the actual bowl depth. Don't rely on the sink model name or a nominal cabinet label. Use the manufacturer's specification and confirm how far the bowl projects below the countertop.
Locate the drain and trap. The drain determines where the P-trap and disposal sit. A rear drain may leave more front room, but it can also create a tighter service area against the wall.
Record the countertop and rim height. If the sink is lowered, raised, or installed in a thicker top, the cabinet interior changes with it.
Map the faucet reach and controls. A faucet, filtered-water tap, or side-mounted control may require a different approach zone beneath the counter.
Check the organizer against the rough-in. A shelf that works in an empty cabinet can collide with the trap once the plumbing is connected.
The U.S. Access Board provides a useful dimensional benchmark for accessible sink planning. Forward approach space should generally provide at least 30 inches of width and 17 to 25 inches of knee-space depth. Knee clearance can require at least 27 inches of vertical height, and the accessible counter or sink rim may be no higher than 34 inches in applicable installations. See the U.S. Access Board guidance for sinks and lavatories for the full context.
These dimensions don't automatically make a private kitchen ADA-compliant. They do give you a practical vocabulary for aging-in-place and inclusive design. An open or modified sink base may preserve knee space, while a removable front can provide service access without rebuilding the surrounding cabinetry.
Sink bowl depth vs under-sink trade-offs
| Bowl Depth | Vertical Storage Lost | Best Fit |
|---|---|---|
| Approximately 6 inches | Less vertical intrusion | Users prioritizing clearance, reach, or seated access |
| Approximately 8 to 10 inches | Moderate intrusion | Many standard modern kitchen installations |
| Approximately 11 to 12 inches | Greater intrusion | Homeowners prioritizing deeper washing capacity over storage and service room |
For measurement technique, use this guide to measure kitchen cabinets and mark both the sink position and the plumbing entry points. The order matters. If you buy the cabinet first and discover the drain later, the organizer becomes the least important problem.
Materials and Waterproofing That Actually Hold Up
A sink cabinet doesn't need to be waterproof in the way a shower is waterproof. It does need to tolerate splashes, condensation, a forgotten wet sponge, and a slow connection leak long enough for you to find the problem before the floor and wall absorb it.
The U.S. Environmental Protection Agency warns that leaking pipes beneath a kitchen sink can promote mold growth in cabinets and adjacent walls, and recommends having leaks repaired by a qualified professional. That makes moisture control a performance specification, not a decorative upgrade.
Choose the box for the exposure
Plywood is my preferred cabinet-box material in a sink base when the budget allows. It handles fastener loads well, stays more stable around occasional moisture, and gives the bottom and side panels a dependable substrate for accessories.
MDF can provide a smooth painted surface, but exposed edges and unsealed penetrations need careful protection. It can work for doors and finished components, yet I want the sink-base floor and pipe openings sealed rather than left vulnerable.
Particleboard is the material I scrutinize most closely under a sink. It can perform adequately when completely protected, but an unsealed edge or swollen bottom can compromise the cabinet quickly after water exposure.
Stainless steel or aluminum offers strong moisture resistance and makes sense in demanding utility or commercial-style applications. It also changes the visual language, cost, hardware requirements, and installation approach, so it isn't automatically the right residential choice.
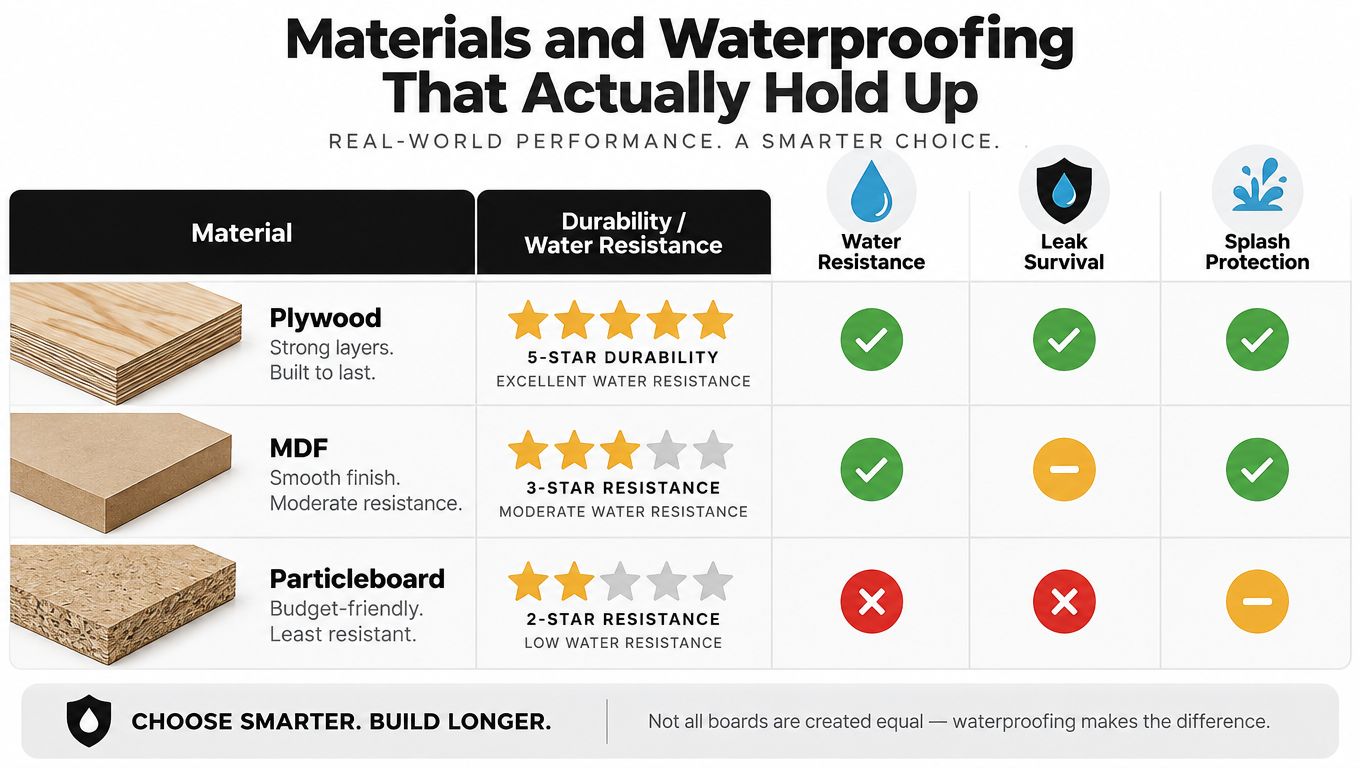
For a broader material comparison, review this explanation of plywood vs MDF cabinets. The important point isn't the label alone. Edges, joints, penetrations, and the cabinet bottom determine how the material behaves after water gets involved.
Specify the bottom, not just the finish
Ask for a sealed or water-resistant cabinet bottom, protected pipe openings, and a removable leak-resistant mat or tray. The floor should make incidental water visible instead of allowing it to sit beneath bottles and bins. A slight frontward slope or a deliberately visible low point can help you spot moisture sooner.
Pipe holes should be large enough for installation and service, but not left as rough gaps. Seal the exposed edges after the plumbing is complete. Keep shutoffs reachable, and place a leak sensor at the lowest practical point, particularly when the cabinet contains a dishwasher connection or reverse-osmosis tubing.
A liner won't fix bad plumbing. It limits secondary damage and improves cleanup. The EPA's guidance still points to professional leak repair as the corrective action, not cabinet materials alone.
A decorative finish can't compensate for an unsealed cabinet floor.
Thermofoil doors can be attractive and easy to clean, but moisture and heat still deserve attention around the sink and dishwasher. Use solid edge protection, keep splash paths controlled, and don't allow a liner to trap water against the door or toe kick.
If you're investigating a musty cabinet, this resource on spotting cabinet mold in Marion County offers useful visual context. In a renovation, prevention is simpler: seal the vulnerable edges, preserve visibility, and make every connection serviceable.
Organizing the Usable Space Without Blocking the Plumber
The most expensive under-sink organizer is the one a plumber has to remove before touching the trap. I've seen full-extension hardware turn a simple shutoff adjustment into an unloading job because the tray ran directly through the service zone.
Storage should answer two questions before it answers how many bottles it holds:
- Can you reach the shutoffs and P-trap quickly?
- Can you see a leak when it begins?
Pull-outs work when they respect the plumbing
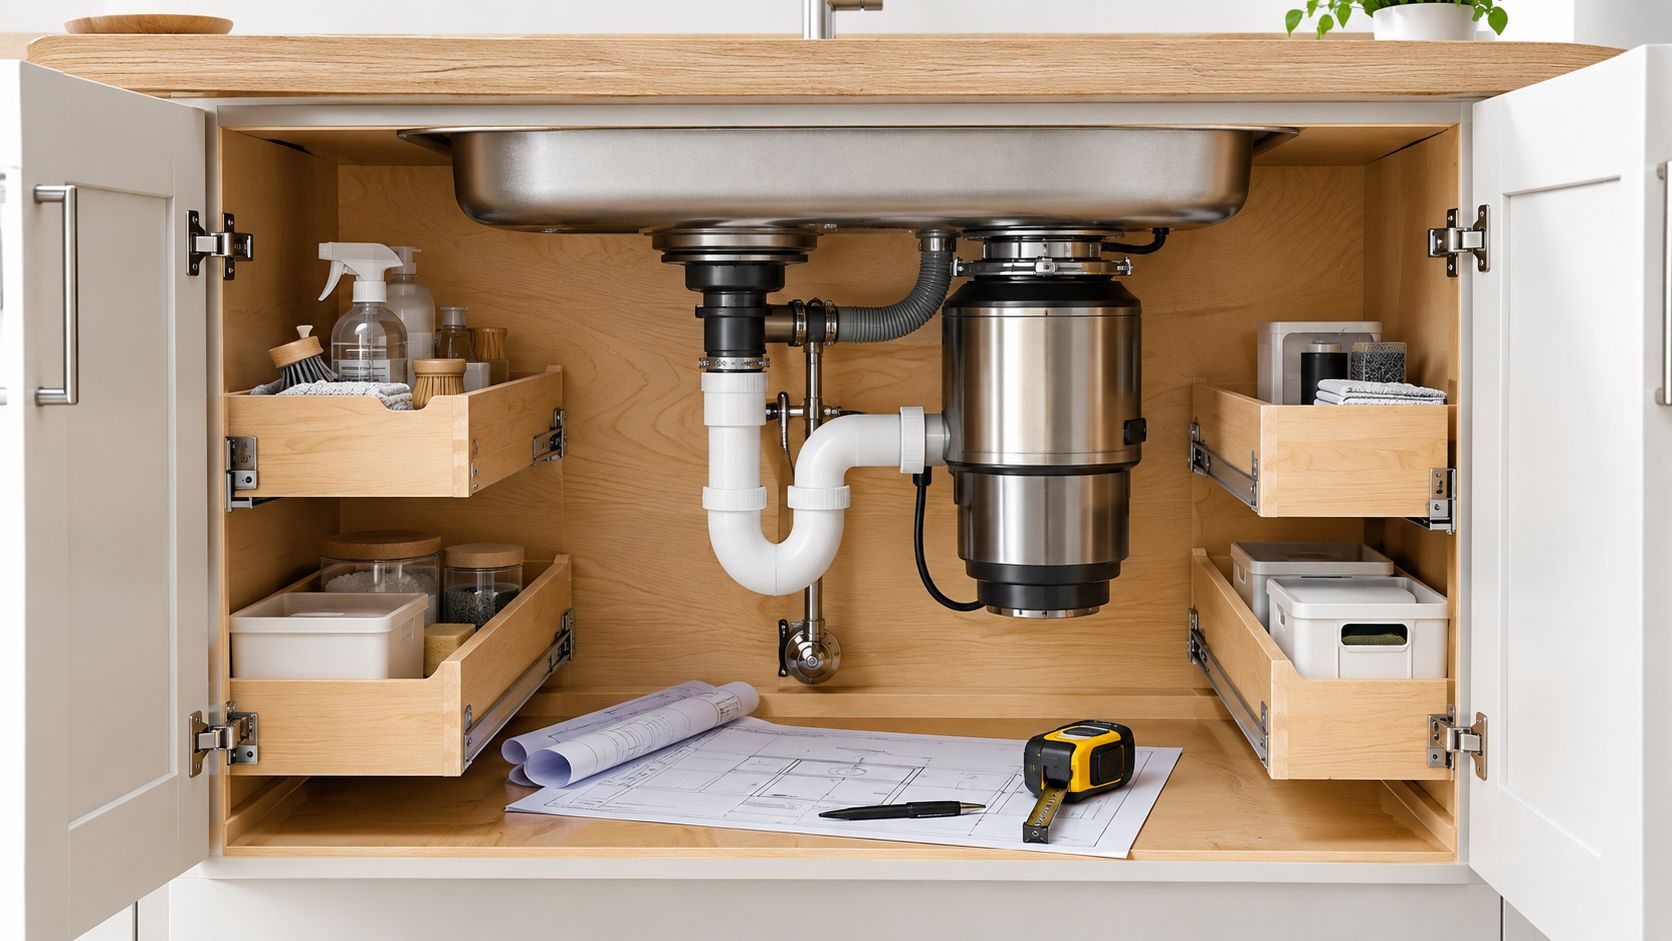
A side-mounted pull-out bin can be excellent when the trap and disposal occupy the opposite side. It should be removable without dismantling the cabinet and positioned so its full travel doesn't hit valves, tubing, or an electrical connection.
A U-shaped drawer can wrap around the drain assembly and use otherwise awkward side space. It offers attractive access, but the drawer profile must be drawn from the actual plumbing, not a generic catalog illustration. Leave enough open space around the trap for replacement and inspection.
A partial-depth shelf is often the sensible choice. It gives cleaning products a home while leaving the back and center open. Make it removable, and avoid building a fixed shelf across the valve line.
Treat tilt-outs and false fronts carefully
A tilt-out tray behind a false front is useful for sponges and small items, but it hides the cabinet's upper edge and can conceal a slow leak. I use this feature sparingly, never as the primary storage system for a sink base.
An open base with two shallow bins often beats a complex insert. One bin can hold frequently used supplies, while the other stays clear for access equipment or replacement parts. A removable mat underneath gives you a visible surface and keeps bottles from sitting directly on the cabinet floor.
For more general storage ideas, this guide to organizing deep kitchen cabinets is useful, but the sink base needs stricter rules than a dry pantry cabinet.
Houzz reports that 67% of surveyed renovating homeowners selected pull-out waste or recycling bins, while 36% selected deep drawers as priority kitchen features, according to its kitchen trends survey (Houzz kitchen cabinet and storage findings). Those choices make sense across a kitchen, but inside the sink base, service clearance still wins.
This video can help you evaluate the movement and access of different under-sink storage approaches:
Avoid fixed shelves that span the entire width, deep bins that must be unloaded to reach a valve, and organizers that sit permanently over the lowest point. Store chemicals securely, but don't create a solid wall between the cabinet door and the plumbing.
Plumbing and Accessory Compatibility You Need to Plan For
The sink base is a cabinet, but its contents behave more like a compact equipment room. List every device before the designer draws the interior. If you add filtration or instant-hot water after the cabinet is ordered, the storage plan may no longer fit.
Build the equipment list first
| Accessory | Min Cabinet Width | Service Access Needed |
|---|---|---|
| Garbage disposal | Confirm from the disposal, sink, and drain assembly specifications | Reach the mounting ring, electrical connection, and drain path |
| Dishwasher drain connection | Confirm based on the sink base layout and adjacent dishwasher position | Keep the hose route visible and serviceable |
| Filtered-water system | Confirm from the filter housing and replacement-clearance requirements | Leave room to remove cartridges and inspect tubing |
| Reverse-osmosis system | Confirm from the storage tank and membrane assembly | Preserve access for filter changes, tank service, and shutoff |
| Instant-hot dispenser | Confirm from the heater unit and required connections | Keep power, water, and replacement access reachable |
| Leak sensor | Usually fits in the lowest open area | Place where water will collect first, without covering it with a bin |
The table is a planning framework, not a substitute for manufacturer specifications. Cabinet width alone can't establish a safe minimum because the bowl, drain, disposer, and rough-in can change the usable footprint.
Protect the service path
The shutoff valves should be reachable without moving every cleaning product. The P-trap should remain visible enough for inspection and removable without cutting a shelf. If the cabinet uses a false front, make it removable rather than permanently fixed.
For an accessible or adaptable kitchen, the U.S. Access Board notes that a sink may be height-adjustable from 29 to 36 inches only when the supply and drain rough-ins can accommodate the lower mounting position. Its guidance also supports removable cabinetry in residential dwelling units when the fixture can remain in place, the finished floor continues beneath the cabinet, and surrounding walls are finished. Review the detailed sink and lavatory provisions with the designer, plumber, and contractor.
Electrical planning belongs in the same conversation. A disposal, instant-hot unit, or filtration pump needs an appropriate outlet and safe access. Don't assume an installer can solve the issue by drilling through a cabinet side after delivery. Decide where the connection belongs while the cabinet, wall, and plumbing rough-in are still coordinated.
The practical test is simple. Open the doors, identify every shutoff, follow the drain, locate the lowest point, and imagine replacing each accessory. If any step requires dismantling the organizer, the interior needs to be redesigned.
Matching the Sink Base to the Rest of the Kitchen
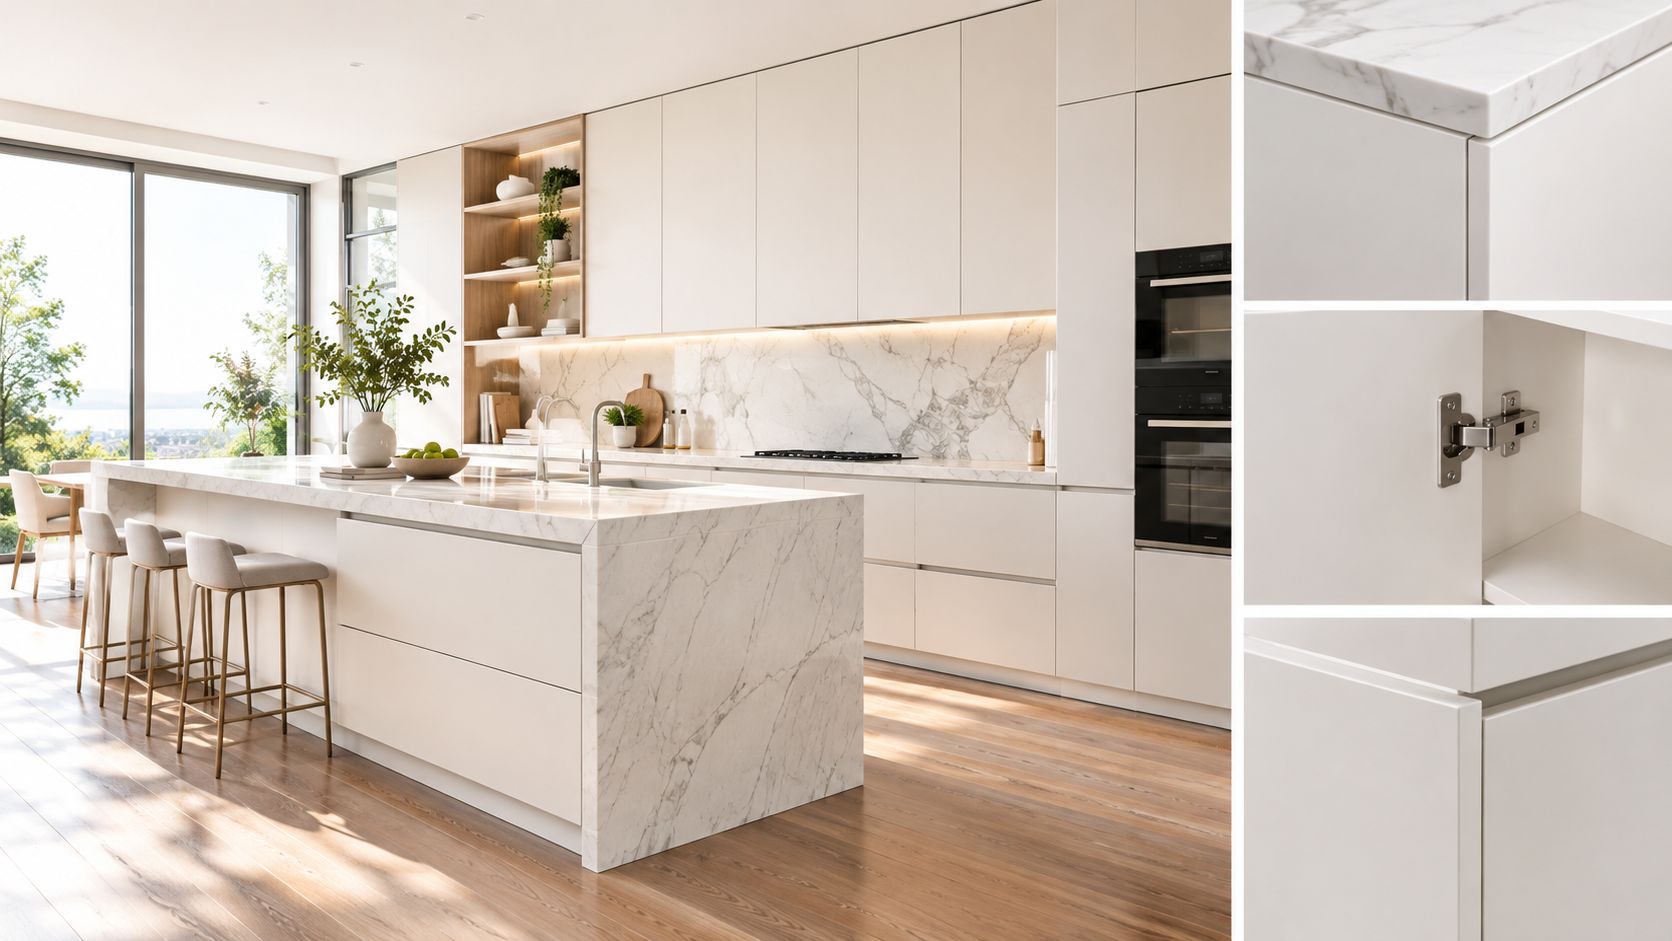
A functional sink base shouldn't look like a utility closet. Match the door style, paint or stain, hardware, and face-frame details to the surrounding run so the cabinet reads as part of the kitchen.
The interior can be highly specialized while the exterior stays quiet. A continuous door style usually looks better than a deliberately contrasting panel, especially when the sink sits beneath a prominent window or island-facing wall. If the dishwasher is adjacent, a panel-ready model can maintain the same visual rhythm as the cabinets.
Toe-kick treatment also matters. A continuous toe kick ties the sink base to the flooring and neighboring cabinets, while decorative legs can suit furniture-style cabinetry but may complicate floor cleaning and moisture control. If you choose legs, make sure the sink-base bottom still has a deliberate, serviceable moisture detail.
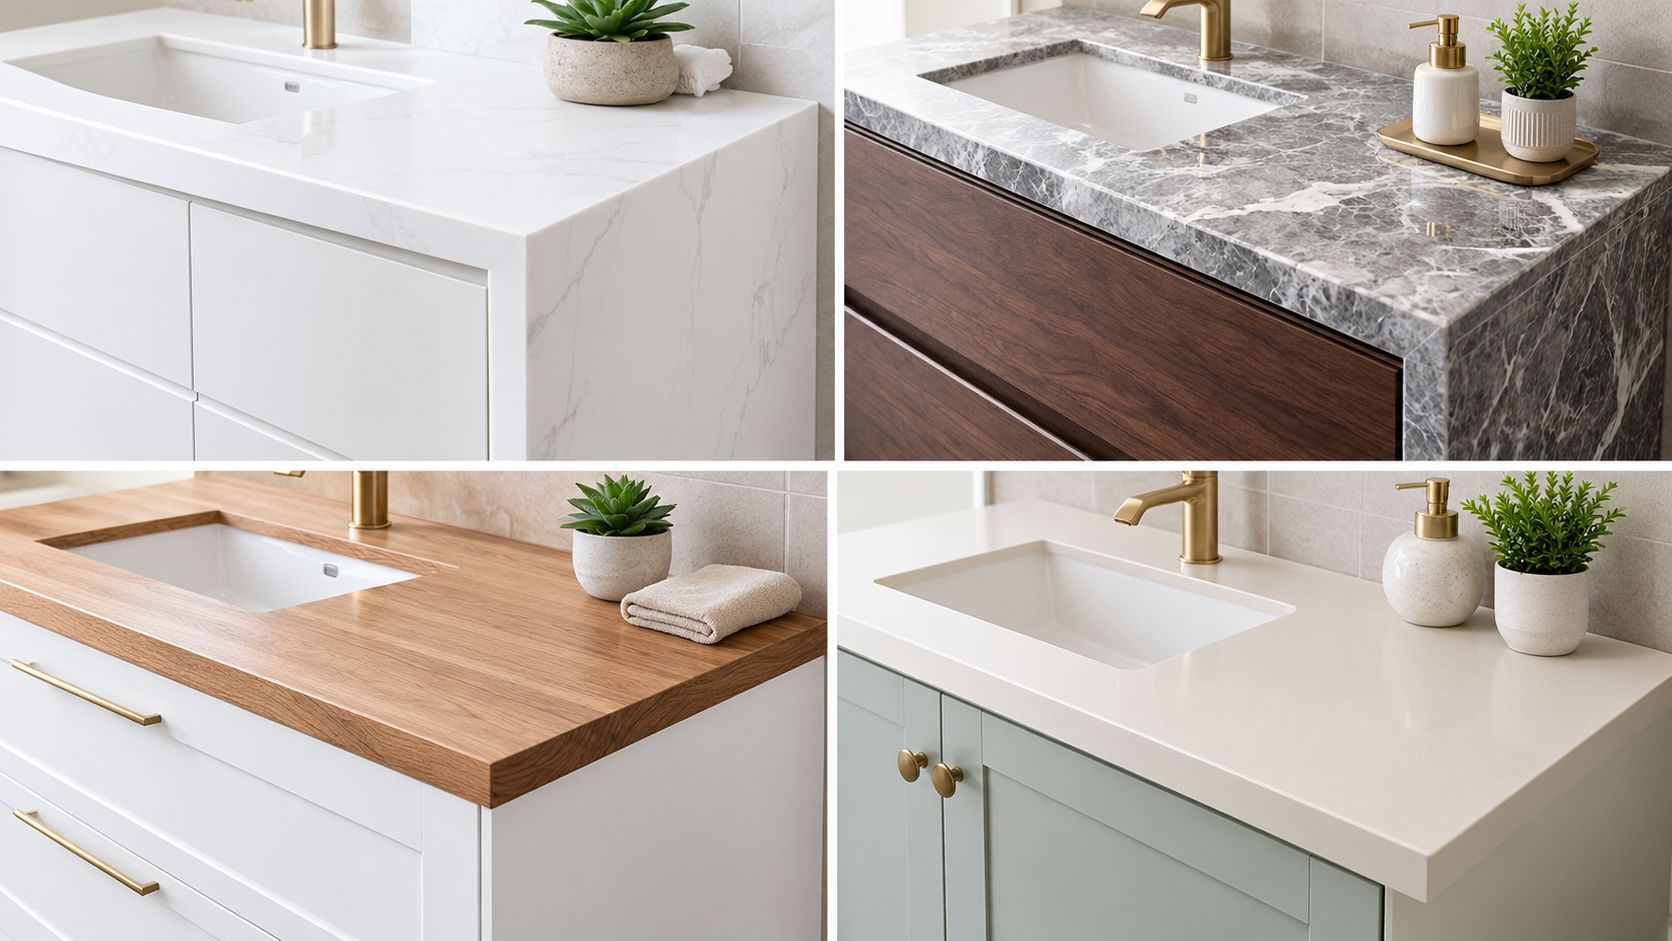
Countertop decisions should support the wet zone. A modest edge profile is easier to wipe than an elaborate projection, and the sink cutout must coordinate with the bowl, faucet, backsplash, and cabinet face. The goal is not to advertise how much engineering sits below the counter. It's to make the whole run look intentional while preserving the access decisions inside.
A Short Pre-Order Checklist for South Jersey Renovations
Before ordering a kitchen cabinet under sink for a Cherry Hill or surrounding South Jersey renovation, separate decisions that affect the rough-in from choices you can change later.
Decide now:
- Sink geometry: Confirm bowl depth, drain location, rim height, and faucet configuration.
- Cabinet construction: Specify the box material, sealed edges, protected penetrations, and bottom or liner detail.
- Plumbing access: Mark shutoff locations, trap clearance, disposal requirements, and dishwasher routing.
- Equipment: Identify filtration, reverse osmosis, instant-hot water, and leak-sensor needs.
- Accessibility: State any seated-use, aging-in-place, removable-front, or knee-clearance goals.
Fine-tune later:
- Organizer style: Choose between removable bins, a partial-depth shelf, or a carefully fitted pull-out.
- Interior finish: Select liner color and storage containers after the service zone is confirmed.
- Exterior details: Finalize door style, hardware, and decorative treatment to match the kitchen.
- Project coordination: Use this guide to plan a kitchen remodel while the sink, countertop, cabinet, and plumbing decisions are still connected.
Maximize storage last, not first. Design for access and moisture control, and the sink base will outperform every organizer in the showroom for years.
The Cabinet Coach helps South Jersey homeowners coordinate sink-base cabinetry, countertops, hardware, tile, plumbing considerations, and the rest of the kitchen through a mobile showroom and guided design process. Bring your sink specifications and equipment list to a complimentary video consultation by visiting The Cabinet Coach, and get the under-sink zone resolved before cabinet orders are placed.