A vessel sink isn't a prettier version of an undermount sink. It changes the height, faucet geometry, countertop drilling, plumbing path, and daily comfort of the entire vanity. That's why so many attractive bathroom photos lead South Jersey homeowners into awkward handwashing positions, splashy faucets, or drain connections that don't fit the cabinet.
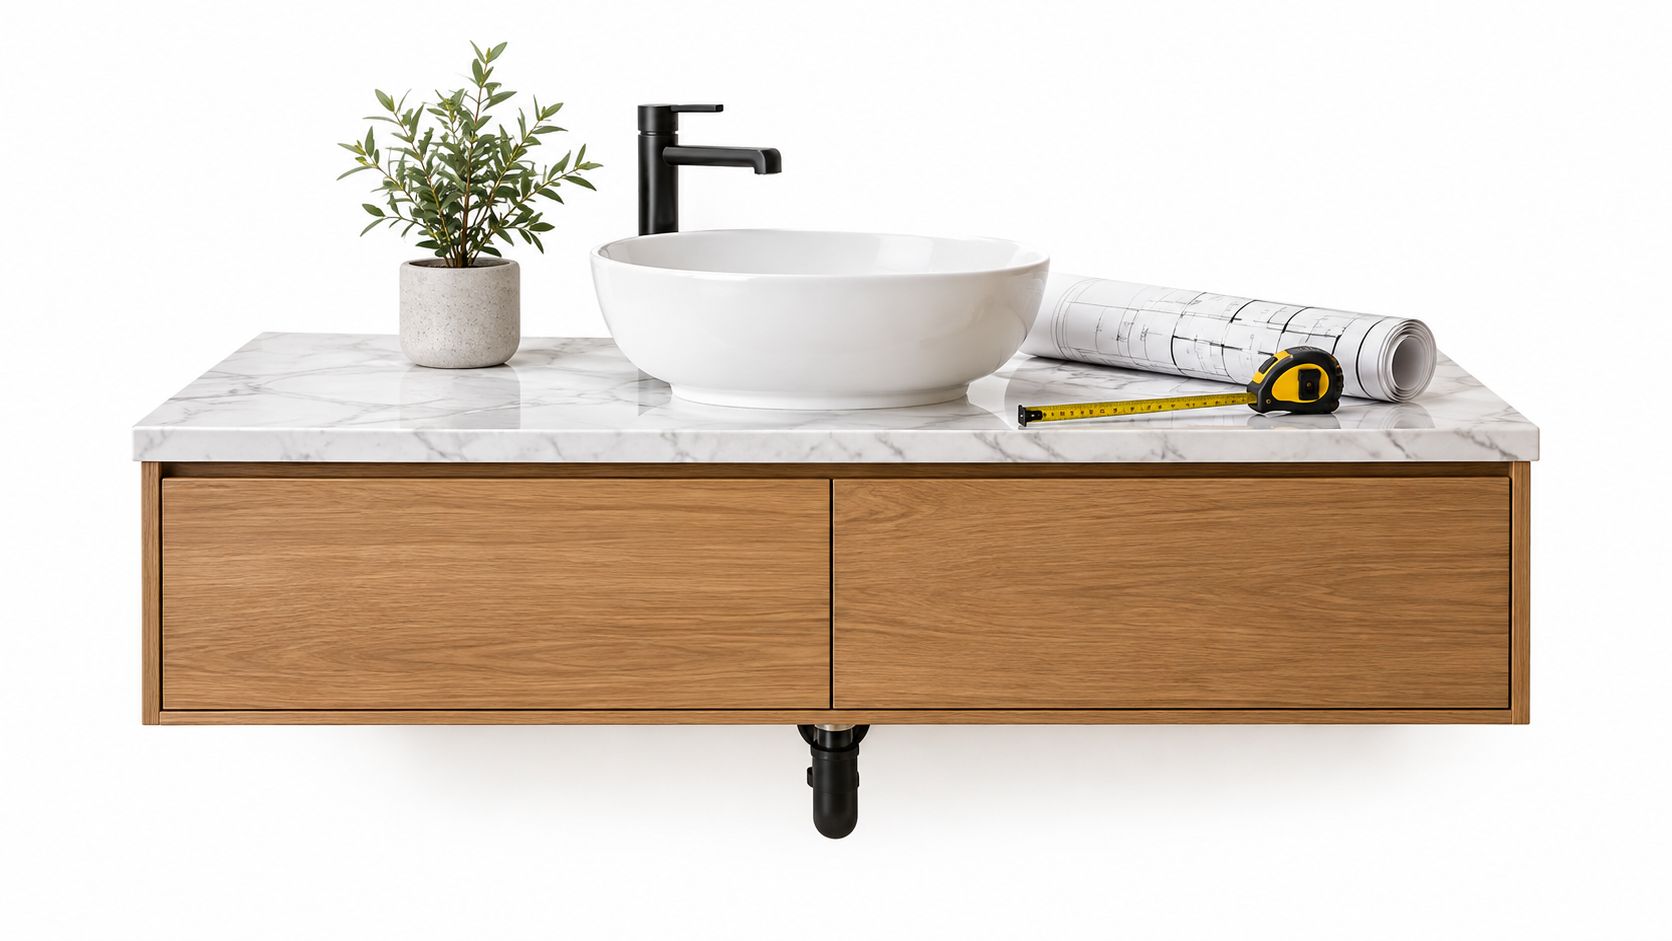
The right bathroom vanity for a vessel sink starts with one measurement: the finished height from the floor to the top edge of the bowl. Choose the basin, cabinet, countertop, faucet, and rough-in plumbing as one coordinated system, then choose the style. If you reverse that order, the catalog may look simple, but the installation won't be.
Table of Contents
- Why a Vessel-Sink Vanity Is a System, Not a Sink on a Cabinet
- Measuring for Finished Rim Height Before You Buy Anything
- Comparing Vanity Styles for Vessel Sinks
- Planning the Faucet, Drain, and Backsplash Together
- Choosing a Countertop Material That Works With a Vessel Bowl
- A South Jersey Powder Room Story Done Right
- Accessibility, Aging in Place, and a Final Recap
Why a Vessel-Sink Vanity Is a System, Not a Sink on a Cabinet
Pretty vessel-sink photos hide the part that decides whether the room works. The vanity, bowl, top, faucet, and rough-in plumbing all stack into one height-and-clearance system, and if you shop them as separate pieces, you usually end up with a sink that looks sharp and feels awkward every morning.
A standard vanity is built around a sink that drops into or below the counter. A vessel bowl sits on top, so the bowl height becomes part of the working height you feel at your hands, wrists, and back. As a general planning range, vessel bowls are often about 4 to 7 inches deep, and many round bowls land around 14 to 20 inches in diameter, as noted in this vessel sink vanity planning guide. Those numbers vary by model, but the lesson stays the same. A vessel sink is never just a sink swap.
That is why so many nice-looking installs turn into bad daily use. A conventional 32-inch vanity with a 5- to 6-inch bowl can push the finished rim to roughly 37 to 38 inches. Many adults find that too high for face washing or shaving, and it gets worse when a child or an older family member needs to use the same sink. Solve height first. Style comes after that.
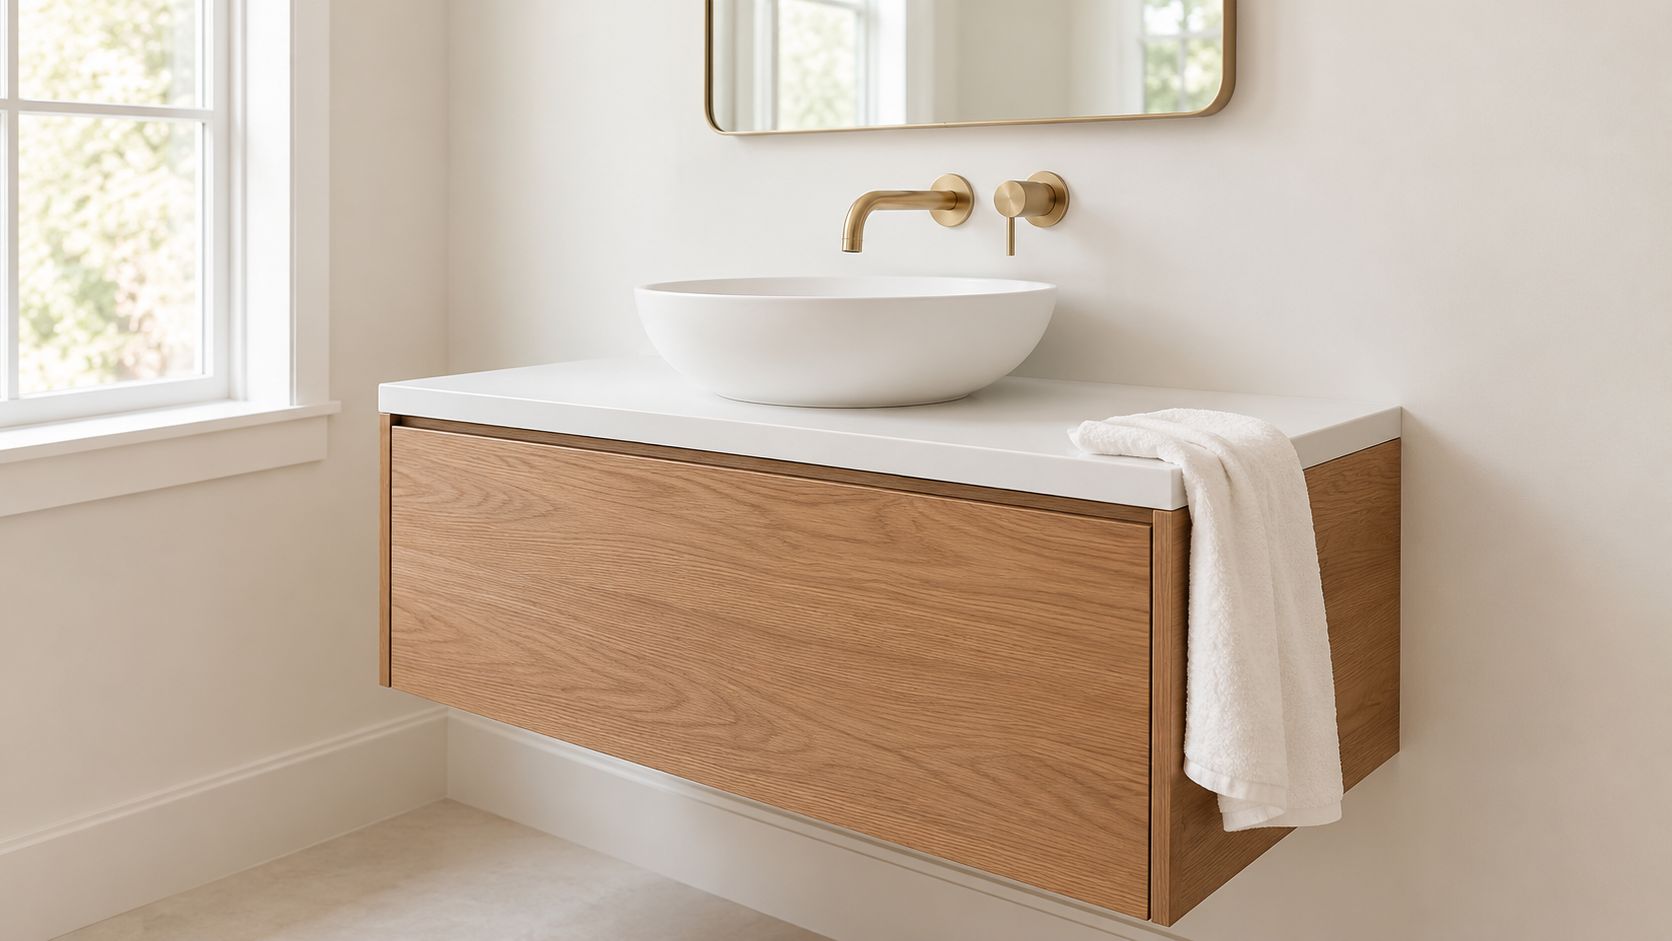
Start with the finished rim
Use one formula and write it down before you order anything.
Cabinet height plus countertop thickness plus vessel height equals finished rim height.
For many households, a finished rim in the 33- to 36-inch range is a practical target. The right number depends on the people using the room, including anyone who needs easier reach now or later. That is the aging-in-place check too many remodels skip. If the users need a lower, easier setup, a shorter cabinet, often around 28 to 32 inches, usually makes more sense than trying to force a tall vanity to work with a tall bowl.
The countertop changes the job as well. A vessel setup usually needs only a drain opening, not a full sink cutout, but that does not simplify the install by itself. The drain location, faucet reach, splash zone, backsplash height, drawer clearance, and trap placement still have to align.
Design rule: Order the cabinet only after the basin height, countertop thickness, target rim height, and plumbing layout are on the same sheet.
Floating and furniture-style vanities can both work. The better choice is the one that supports the right height, storage, and pipe routing for the full assembly. Before you choose finishes, review the bathroom vanity build process with the entire fixture package in front of you.
Measuring for Finished Rim Height Before You Buy Anything
Pretty vessel-sink photos hide the part that decides whether the room works. The number that matters is the finished rim height, because the cabinet, top, bowl, faucet, and rough plumbing all stack into one handwashing position.
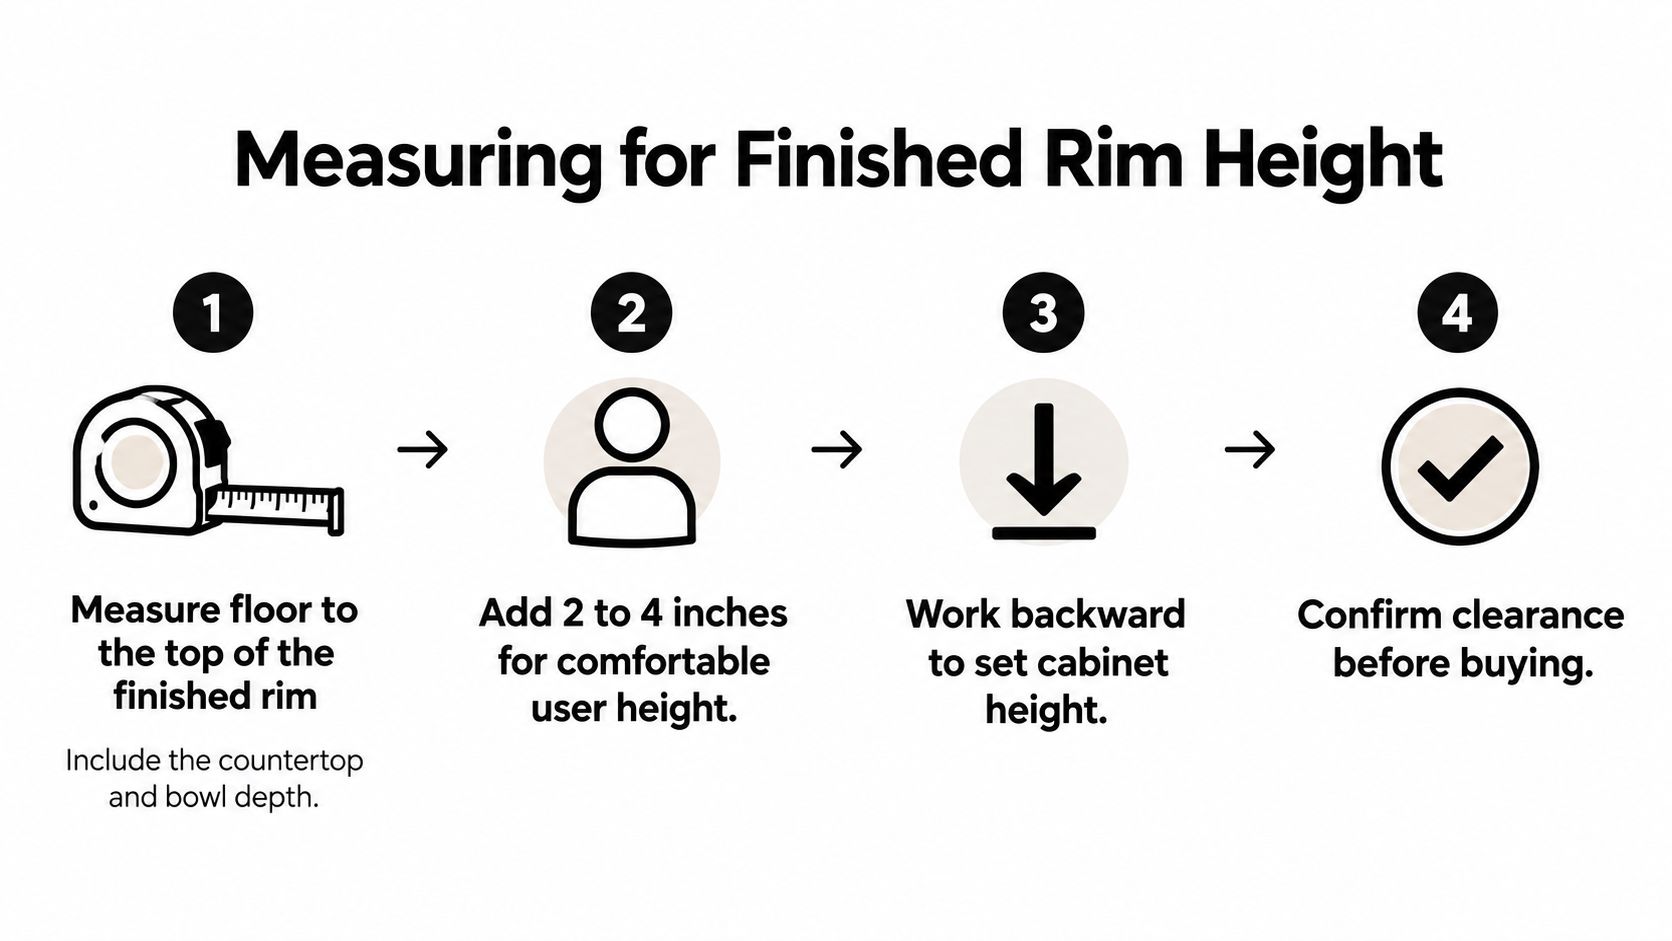
Use a tape-measure workflow
Measure the actual vessel. Record the bowl's full height from the surface it will sit on to the top rim. Do not trust a product title or a rough catalog label, especially with molded, handmade, or uneven shapes.
Choose the target finished rim. Stand where the vanity will go and mark the handwashing height that feels right for the people who will use it every day. Do this before you fall in love with a cabinet. For an accessible installation, the 2010 ADA Standards for Accessible Design set the front edge of the lavatory rim or counter, whichever is higher, at no more than 34 inches above the floor.
Subtract the bowl and countertop. If your target rim is 34 to 36 inches, subtract the vessel height and countertop thickness to get the usable cabinet height. A 5- to 6-inch bowl on a shorter cabinet usually lands in a practical range. A tall cabinet plus a tall bowl often creates a sink that looks dramatic and feels awkward. The dimensional guidance is summarized in this bathroom sink buying guide.
Check the users before the style. This is a common point where remodels go wrong. Children may need a lower setup or a stable step that does not create a fall hazard. Older adults often need easier reach and better support. A seated user needs knee clearance, reachable controls, and a clear approach. If aging in place matters, test those conditions now, not after the stone is cut.
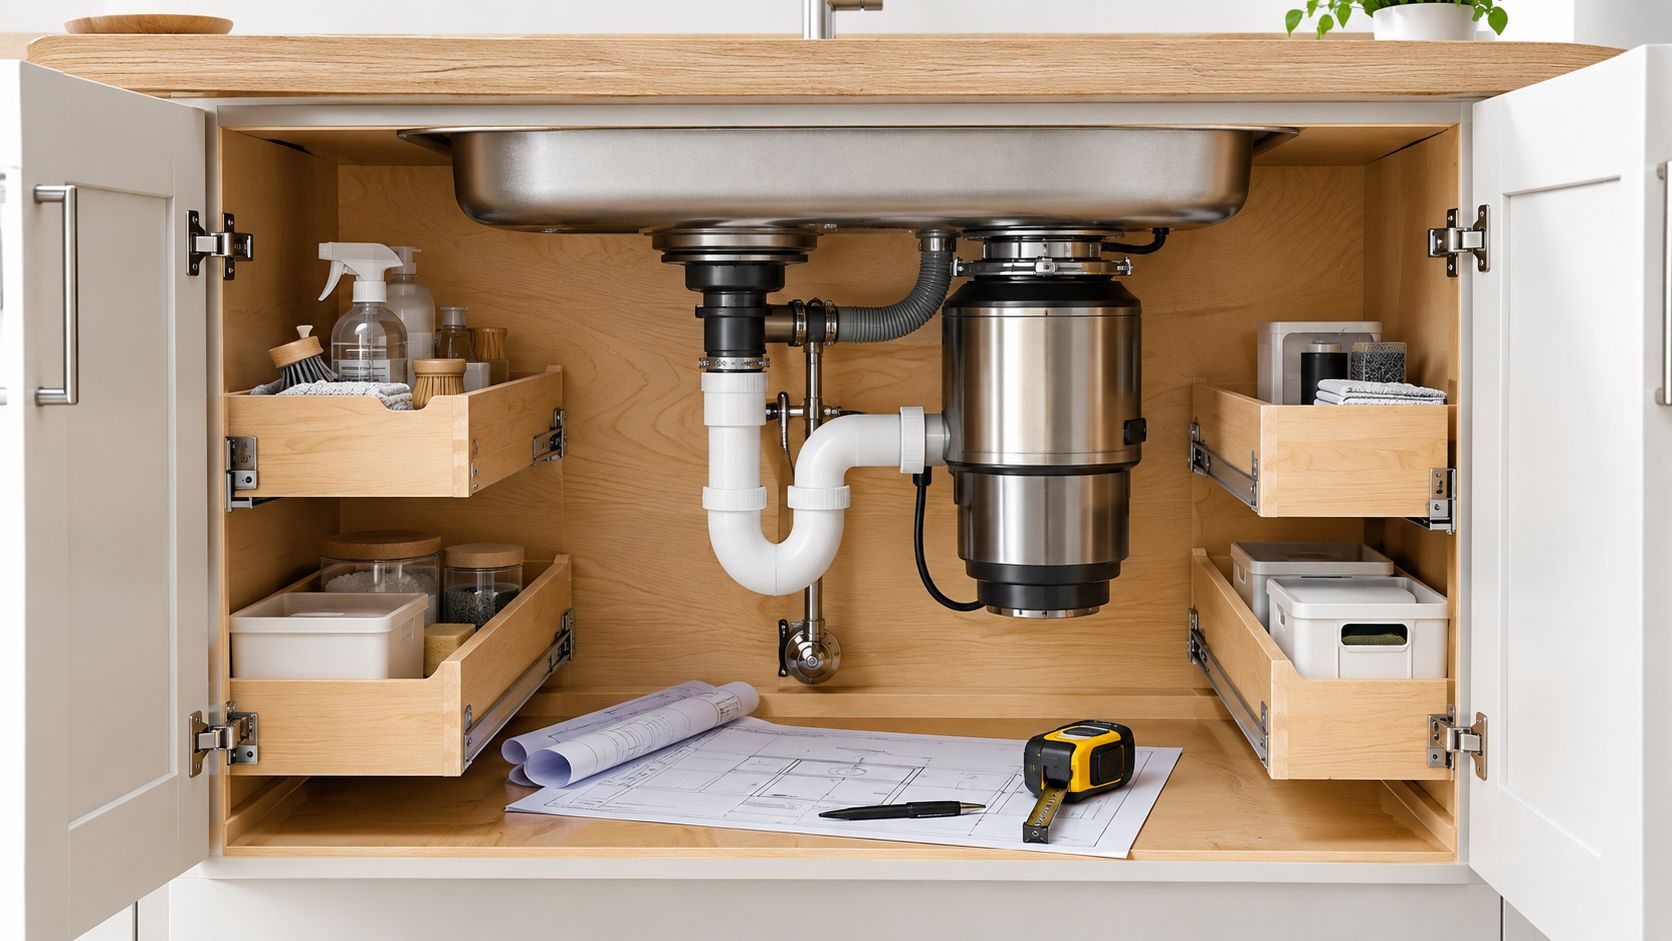
Verify the plumbing path. Confirm that the drain tailpiece can meet the wall trap without creating an S-trap, a messy offset, or a connection blocked by a drawer box. Check the supply lines, trap, venting arrangement, and service access at the same time. A vessel sink job fails in the field when the bowl height is chosen first and the rough-in is expected to somehow work itself out.
Bring a short measurement list to the showroom
Write down the finished rim target, bowl height, countertop thickness, bowl width, faucet mounting position, drain center, backsplash depth, and interior plumbing zone. That list turns a vague cabinet conversation into a real design decision, and it exposes conflicts before fabrication and rough plumbing changes get expensive.
Common U.S. vanity widths include 24, 30, 36, 48, 60, and 72 inches, while many single vessel bowls use about 16 to 21 inches of lateral space. A 24- to 36-inch vanity can work for one basin if the faucet location and usable landing space are not crowded. Verify the actual product dimensions before ordering.
For a practical visual walk-through of the measurement sequence, use the video below after you've gathered the basin specifications.
Good cabinet work protects drawer function and still leaves room for the trap and supplies. Review the bathroom vanity cabinet design process with those measurements in hand, so the cabinet is built around the plumbing instead of the plumber being forced to work around the cabinet.
Comparing Vanity Styles for Vessel Sinks
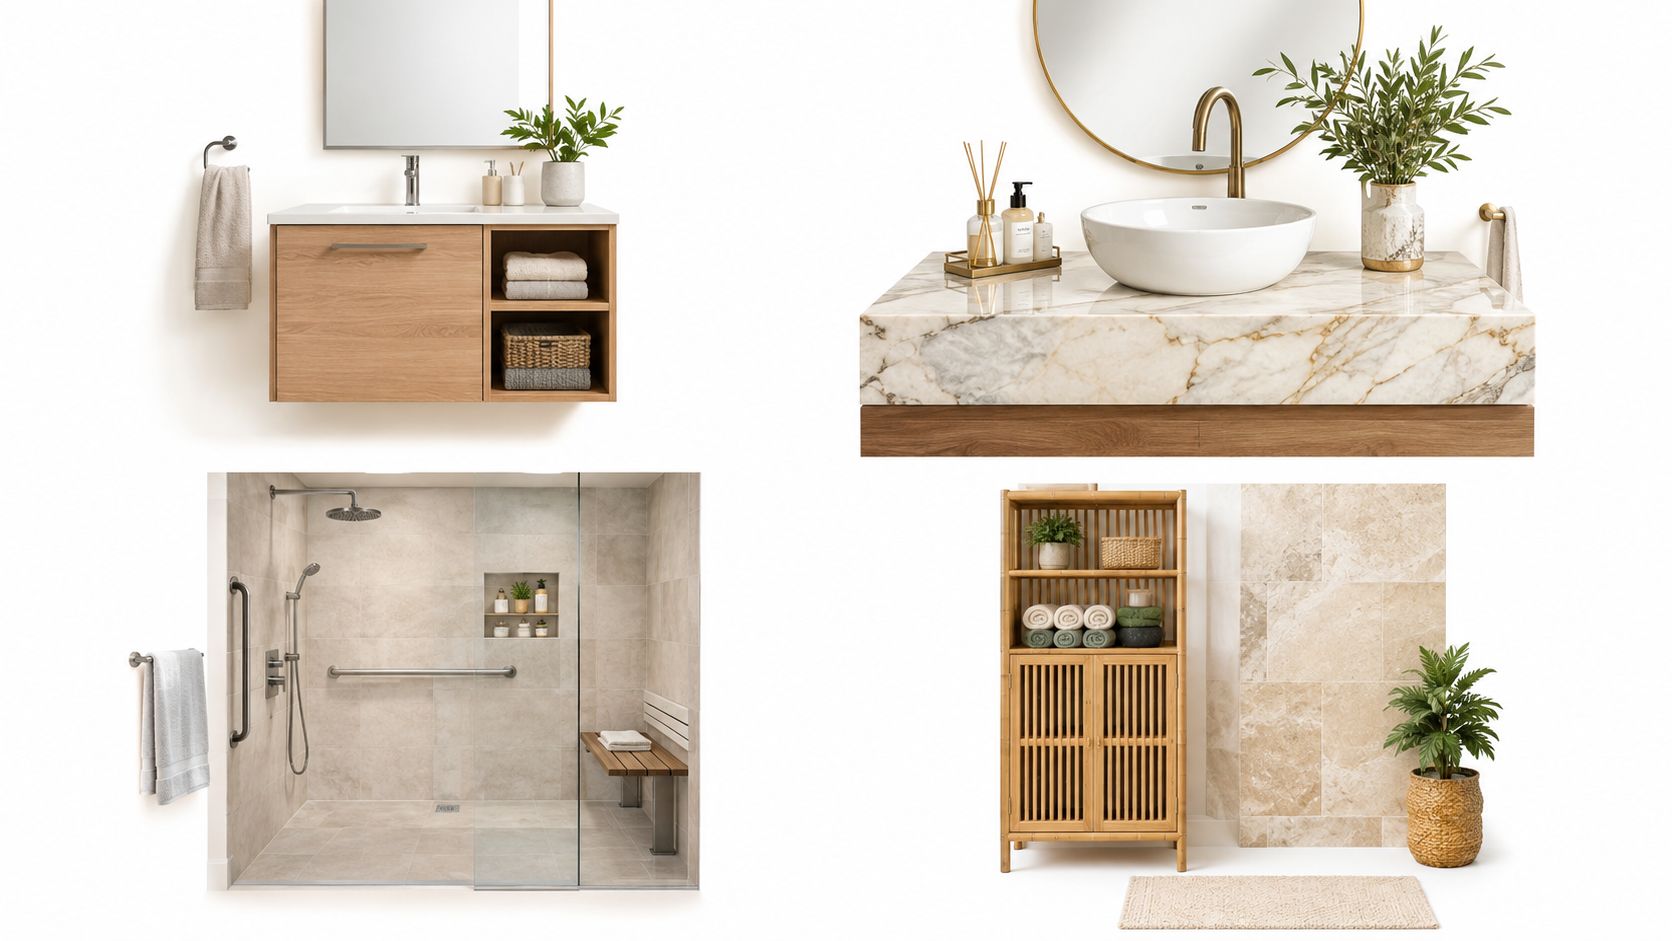
Once the height works, the cabinet style becomes a lifestyle decision. A floating vanity can look light and contemporary, but it exposes more of the wall and plumbing zone. A freestanding furniture-style unit hides services and often feels warmer, while a built-in can provide the most storage at the cost of visual weight and potentially more difficult seated access.
| Style | Plumbing Access | Storage | ADA Suitability |
|---|---|---|---|
| Floating | Easy to inspect if the cabinet is designed with an accessible service zone, but supplies and trap may remain visible | Moderate, with drawers and open space below | Strong potential because mounting height is adjustable, but knee clearance and wall support must be planned |
| Freestanding | Usually concealed behind doors or drawers, with access depending on the interior layout | Good, especially for furniture-style drawers and shelves | Conditional, because the base can limit knee clearance and the vessel still raises the rim |
| Built-in | Can integrate tightly with walls and adjacent storage, but repairs may require removing drawers or panels | Highest overall capacity when the wall allows it | Often more difficult unless the cabinet, counter, and clear floor area are deliberately configured |
Floating vanities
A floating unit is the best option when mounting height, floor cleaning, and visual openness matter most. It also gives the installer more control over the final rim position because the cabinet doesn't have to sit on a fixed base. That advantage disappears if the wall lacks adequate structural support or if the plumbing emerges at a height that conflicts with the drawer box.
Use a wall-mounted cabinet when you're prepared to specify the blocking, mounting points, trap location, and drawer interference before the wall closes.
Freestanding furniture-style cabinets
Freestanding cabinetry is my usual choice for a powder room where the vessel bowl is meant to feel like furniture. It gives you concealed plumbing, a substantial visual base, and useful storage without requiring the entire wall to be rebuilt. The trade-off is floor contact, less flexibility for knee clearance, and a greater need to order the cabinet at the correct height.
Deep drawers can preserve storage better than an open shelf, but the top drawer may need a plumbing notch or a false front.
Built-in bath furniture
Built-ins suit larger bathrooms or rooms where the vanity needs to connect to linen storage, wall panels, or adjacent cabinetry. They offer excellent organization, but they can make a vessel installation feel crowded if the bowl, faucet, and backsplash consume most of the visible top.
Choose built-in construction for the storage plan first. Don't use it to force a vessel into a room where an undermount or recessed basin would serve the users better.
Planning the Faucet, Drain, and Backsplash Together
Treat the faucet, drain, backsplash, bowl, and vanity top as one assembly. If you choose them separately, you get the classic vessel-sink mess. Water hits the wrong spot, handles clip the splash, the drain crowds a drawer, and everybody blames the cabinet when the problem was bad coordination.
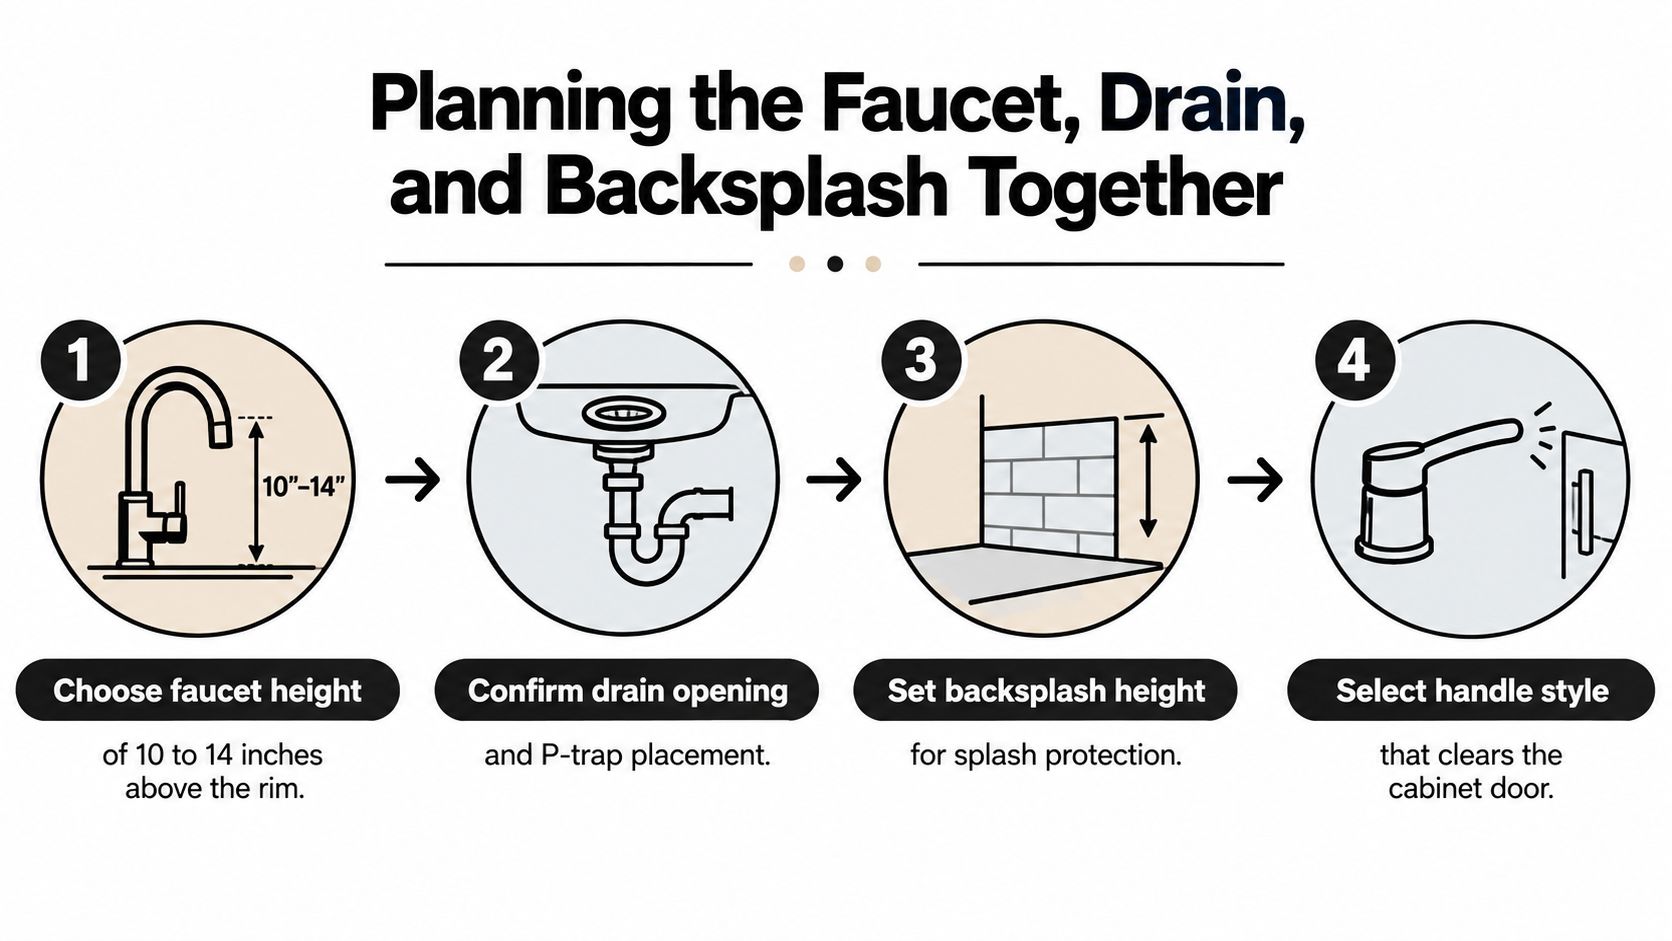
The faucet usually causes the trouble first. A faucet can technically fit and still perform poorly if the stream lands near the rim, misses the bowl center, or strikes a sloped interior wall. That creates splash, awkward hand washing, and a top that always looks wet. Typical guidance puts the faucet about 10 to 14 inches above the basin, but that dimension only matters when the bowl height, spout reach, and mounting surface are all considered together.
Mock up the complete countertop
Before anyone drills stone, quartz, wood, or solid surface, lay out the actual basin, faucet, drain, backsplash, and hardware at full scale. Do it on a template and mark the true bowl center, the faucet footprint, the drain opening, and the swing path of the handles. This is the point where you also check real-life use, including whether someone with limited grip or reach can use the controls without fighting the bowl or wall.
Check these points in order:
- Spout reach: The water stream should land inside the bowl, preferably toward the drain instead of against the sloped side.
- Handle rotation: Lever and cross handles need room to move without hitting the backsplash, wall, bowl, or mirror.
- Rear clearance: The faucet body, supply connections, and backsplash must each have their own space.
- Cabinet plumbing: The drain and supplies cannot collide with drawers, dividers, or rails.
- Basin support: Confirm whether the bowl rests directly on the counter, uses a mounting ring, or needs another support detail.
Most vessel countertops need a drain opening around 1.5 to 2 inches in diameter, though some products call for a larger opening such as 2.75 inches. The installation guide for vessel basins makes the right rule plain. Drill from the actual basin and manufacturer instructions, not a generic cut sheet or a guess from a photo.
Drainage problems also show up during a mock-up. If the finished assembly drains slowly, gurgles, or puts stress on the trap, fix the rough-in. Don't bury the problem inside the vanity and hope trim pieces hide it. If a finished setup starts acting like a blockage issue, it helps to find drain clearing solutions before assuming the vanity itself is at fault.
Coordinate the backsplash and wall faucet
A wall-mounted faucet can solve reach and deck-space problems, but only when the rough-in is set correctly before the wall is closed. Once that valve body is in the wall, adjustment is limited.
A deck-mounted faucet is easier to service, but it still needs enough height and projection to clear the bowl and backsplash cleanly. Use fixture specifications with the basin template, then review this bathroom fixture selection guide before you lock in the finish package.
Choosing a Countertop Material That Works With a Vessel Bowl
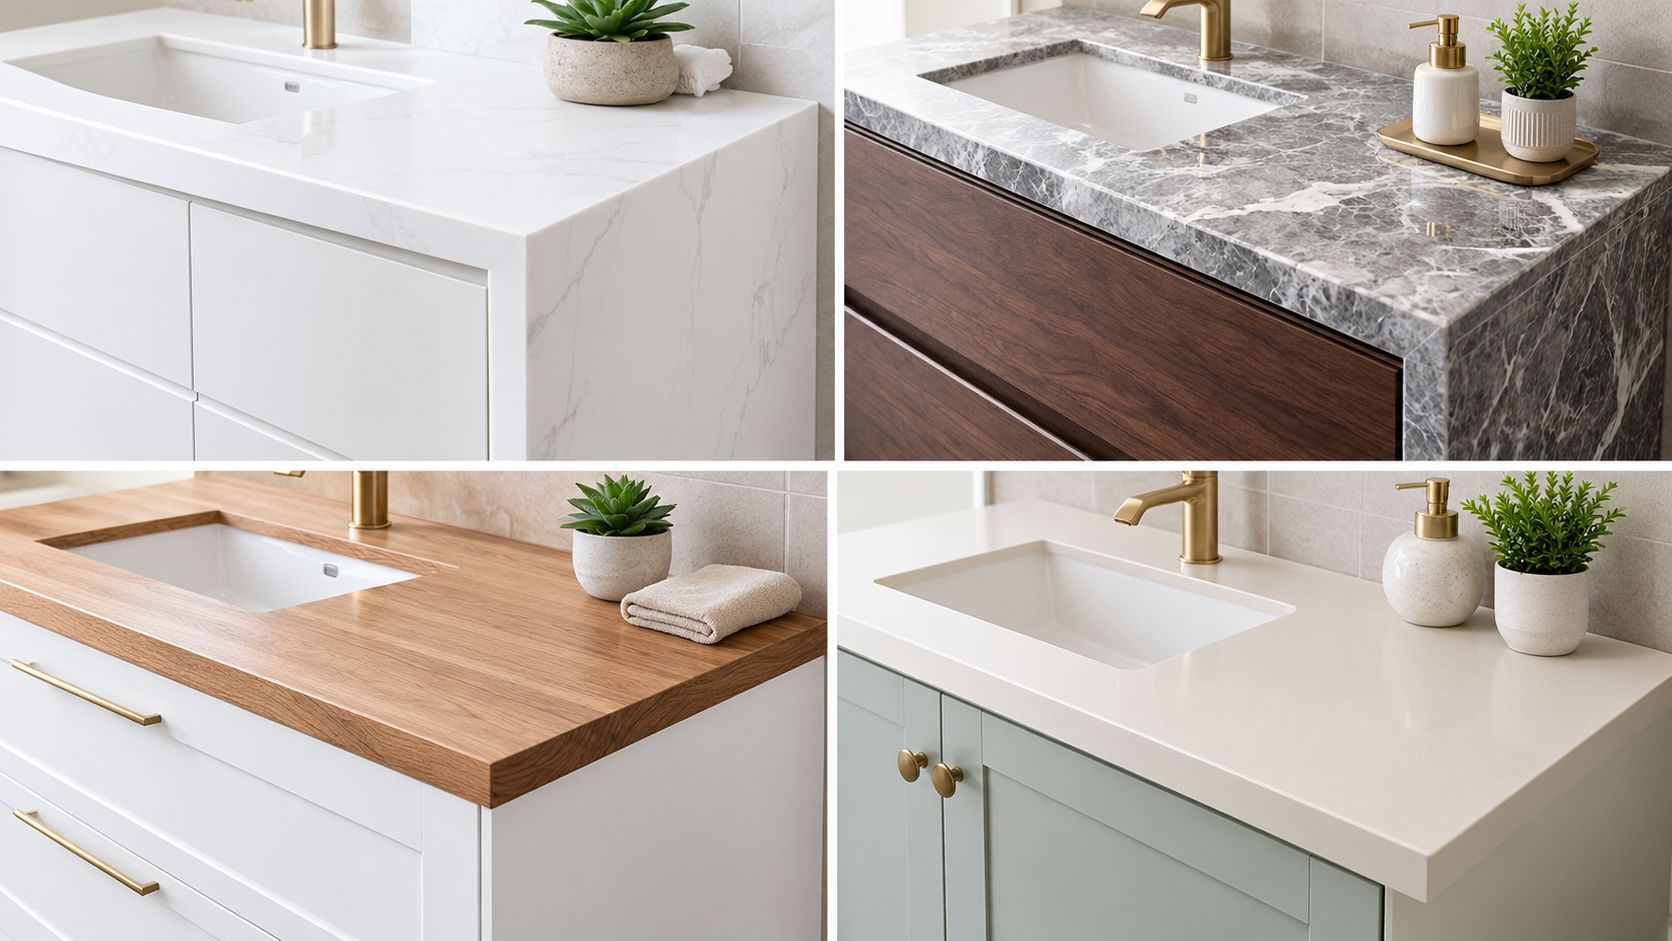
Countertop choice sets the success or failure of a vessel-sink vanity. The top has to carry bowl weight, take the drain opening cleanly, handle splash at the faucet and backsplash, and still leave the cabinet serviceable after installation. Choose the surface for that whole system, not for color alone.
Quartz and granite
Quartz is the safe recommendation for many vessel-bowl projects because it gives you a controlled, consistent surface and usually keeps attention on the bowl instead of fighting it. It also demands accuracy. Once the slab is cut for the drain and faucet, field fixes are limited, so the bowl, faucet, and hardware all need to be selected before fabrication. On a floating vanity, that slab weight matters. The wall blocking and mounting hardware have to support the top, the basin, and daily use together.
Granite is just as workable, but it asks for a sharper design eye. Heavy movement can either frame a simple vessel beautifully or make the whole vanity look busy. It also needs the exact bowl and drain specs in the shop, because the visible opening and support detail have to match the hardware you are installing, not a generic template.
Before committing to a slab, review this countertop material comparison for bathroom and kitchen projects to weigh quartz, granite, and other surfaces side by side. For a closer look at how stone options compare, see this overview of durable countertops for East Texas homes.
Marble and solid surface
Marble looks great with a vessel bowl because the top and sink read as two separate design elements instead of one mass. It also shows wear fast in the exact places vessel sinks create trouble. Water sits around the base, cosmetics collect near the drain, and cleaning products hit the same zones every day. If the homeowner will not keep up with sealing and careful cleaning, skip it.
Solid surface makes more practical sense than many homeowners expect. It works well when the vessel is the focal point and the top should stay quiet. It is also easier to repair than stone if the area around the faucet or bowl edge gets marked up over time.
Wood and concrete
Wood can look excellent in a powder room, but only if you treat every penetration and seam like a water entry point, because that is exactly what they are. Around a vessel sink, repeated splashing concentrates at the bowl base and faucet holes.
Concrete fits a custom design and unusual shapes, but weight and thickness can create cabinet and wall-support problems quickly, especially on wall-mounted vanities.
Fabrication rule: Handcrafted and molded vessels can vary from nominal dimensions. Dry-fit the actual bowl, mark the drain center, use the specified hole saw, and seal the installed assembly continuously with 100% silicone.
Leave room for service access. A beautiful countertop that blocks the drain connection or buries faucet supplies behind fixed cabinet parts is a design mistake you pay for twice.
A South Jersey Powder Room Story Done Right
A Cherry Hill homeowner began with a familiar idea: a 36-inch standard vanity and a round vessel bowl. Once the basin was measured, the proposed rim landed near 40 inches, which made the design attractive in a rendering and uncomfortable in practice.
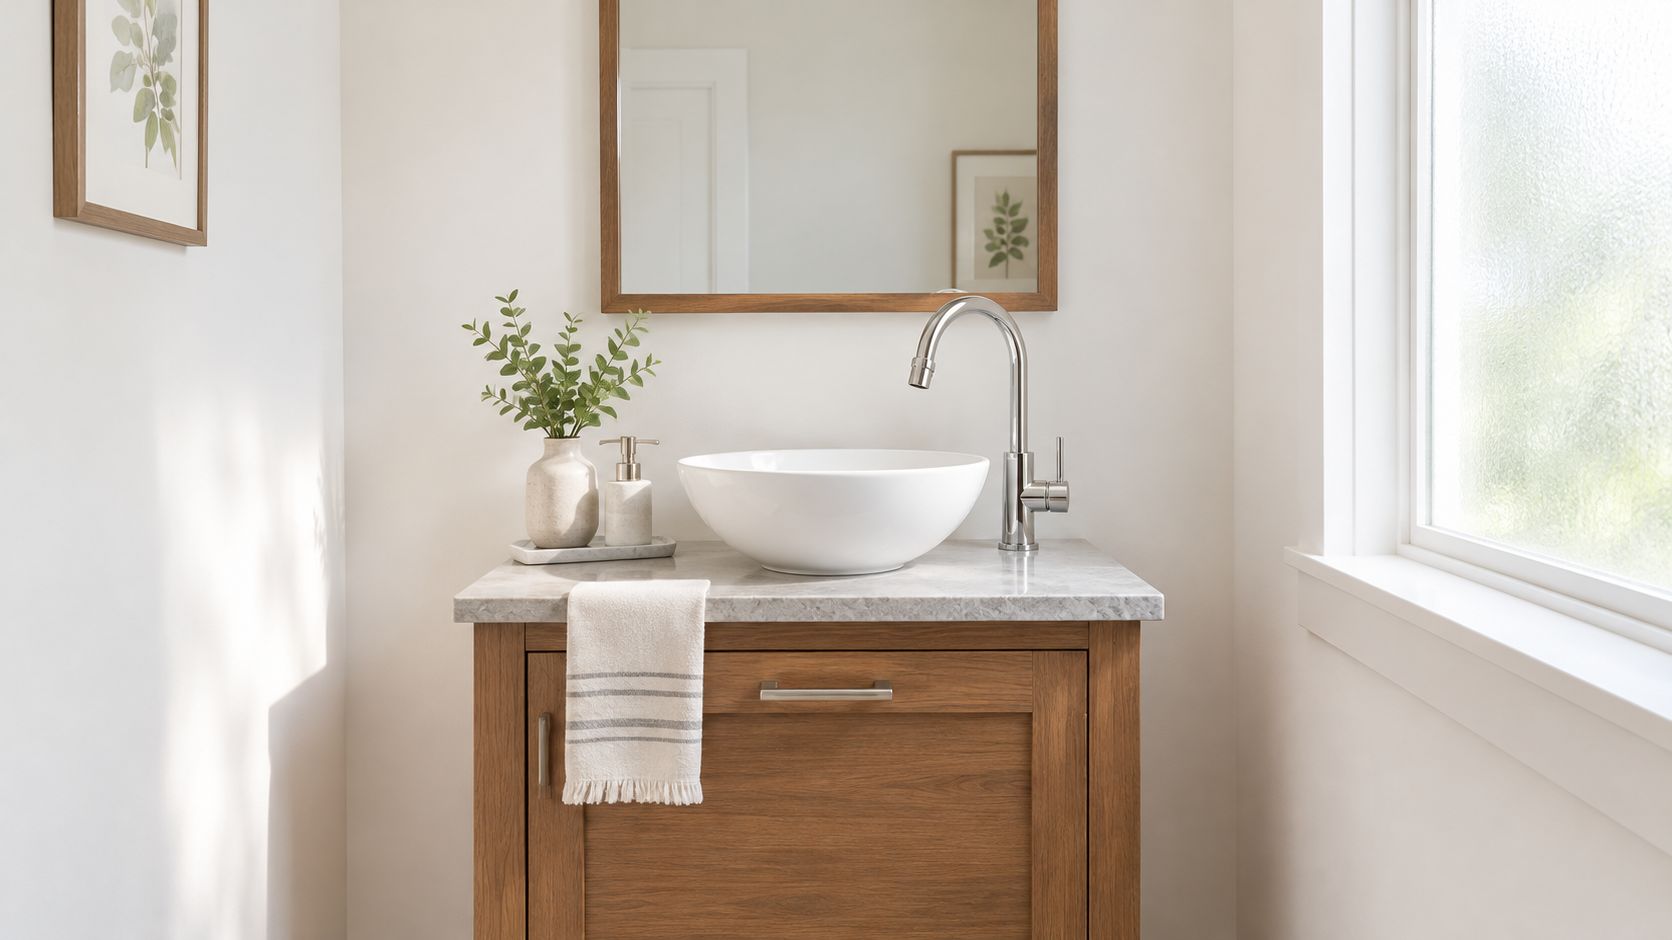
The solution was to work backward from the finished rim. The homeowner selected a 30-inch furniture-style vanity with a quartz top, keeping the bowl at a more usable height while retaining the furniture character she wanted. Deep drawers replaced an open shelf, so towels and toiletries stayed organized without exposing the trap and supplies.
The rough-in changed before the tile
The existing wall trap didn't line up with the new drawer layout, so the plumbing was relocated during the remodel rather than forced into an awkward offset. That decision protected drainage performance and left the cabinet serviceable.
The faucet was tested on a cardboard countertop mock-up before tile went on the wall. The homeowner checked spout reach, handle movement, bowl clearance, and backsplash position with the actual fixture, not a product photograph.
A mobile showroom visit also allowed her to compare cabinet finishes and hardware against the actual vessel bowl in the powder room. That small step settled the visual choices faster than browsing isolated samples online. The wood tone, quartz movement, metal finish, and white basin were evaluated as one composition.
The lesson isn't that every powder room needs the same cabinet. It's that the cabinet should be selected after the vessel and finished height are known. Storage, plumbing, faucet reach, and finish coordination can all work together when the measurements lead.
Accessibility, Aging in Place, and a Final Recap
A vessel sink isn't automatically unsuitable for accessibility, but style-first planning often creates a difficult installation. Raising a bowl above the countertop can push the finished rim beyond the 34-inch ADA benchmark, and a floor-standing cabinet may block the knee clearance needed for seated use. The plumbing fixture height guidance reinforces why the complete assembly matters more than the cabinet label.
For children, a lower rim may be more practical. For older adults, reach, balance, clear floor space, and easy faucet operation deserve priority. For someone planning to remain in the home, the best vanity may be an adjustable floating configuration, a deliberately lowered cabinet, or a different sink type altogether.
An undermount basin usually offers the simplest wipe-down and a continuous counter edge. A recessed vessel can preserve some of the bowl's character while reducing its added height, if the basin permits that installation. A fully raised vessel delivers the strongest sculptural effect, but it requires the most coordination and may be the least forgiving choice for a busy family bathroom.
Final checklist
- Finished rim: Measure floor to the top of the actual bowl.
- Cabinet height: Subtract the measured bowl and countertop thickness.
- Faucet clearance: Verify height, spout reach, water landing point, and handle rotation.
- Drain opening: Follow the basin manufacturer's measurement, not a generic template.
- Countertop support: Confirm the cabinet or wall can carry the complete assembly.
- Plumbing rough-in: Check trap, vent, supplies, drawer clearance, and service access.
- Accessibility: Review rim height, knee clearance, seated reach, children's use, and future needs.
- Mock-up: Dry-fit the basin, faucet, backsplash, handles, and drain before fabrication.
The minimalist vessel bowl may require more planning, not less, than an undermount sink. If those checks don't produce a comfortable, serviceable result, choose the configuration that does. For a South Jersey bathroom remodel, the best design is the one that still feels easy to use after the photograph is taken.
Universal design guidance for kitchens and baths in Cherry Hill can help homeowners frame those decisions around long-term use rather than appearance alone.
The Cabinet Coach brings a mobile cabinet showroom to South Jersey homeowners and coordinates cabinetry, countertops, hardware, and tile around real bathroom measurements. Visit The Cabinet Coach to schedule a complimentary video consultation and review your vessel basin, finished-rim target, faucet, and plumbing layout before ordering.