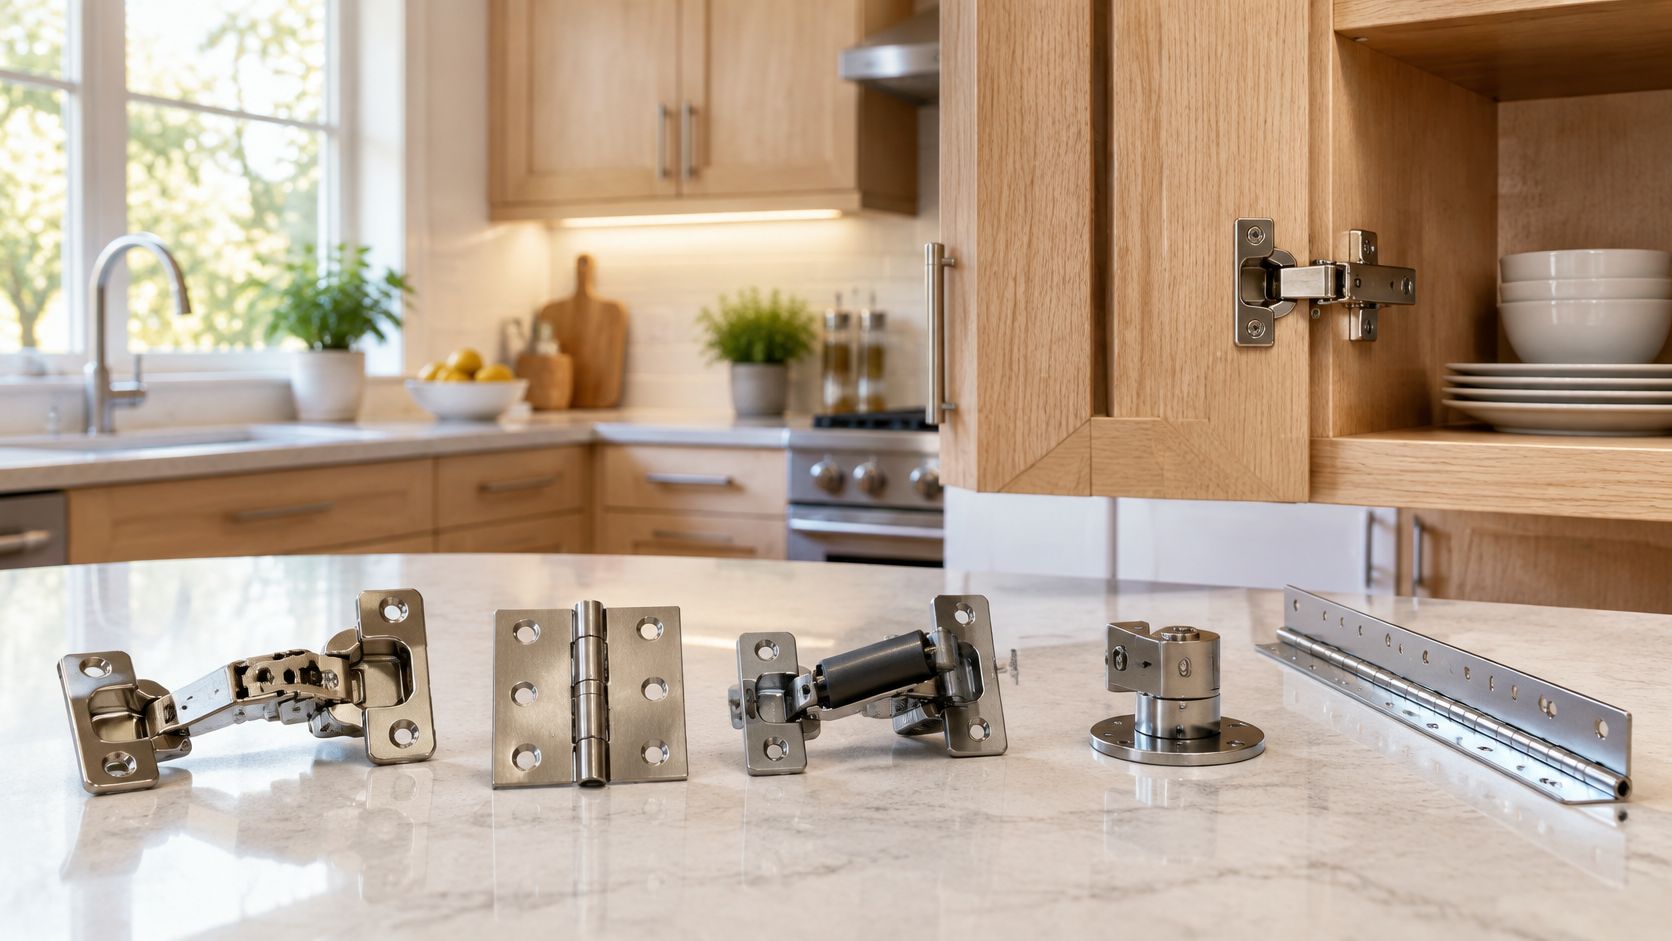
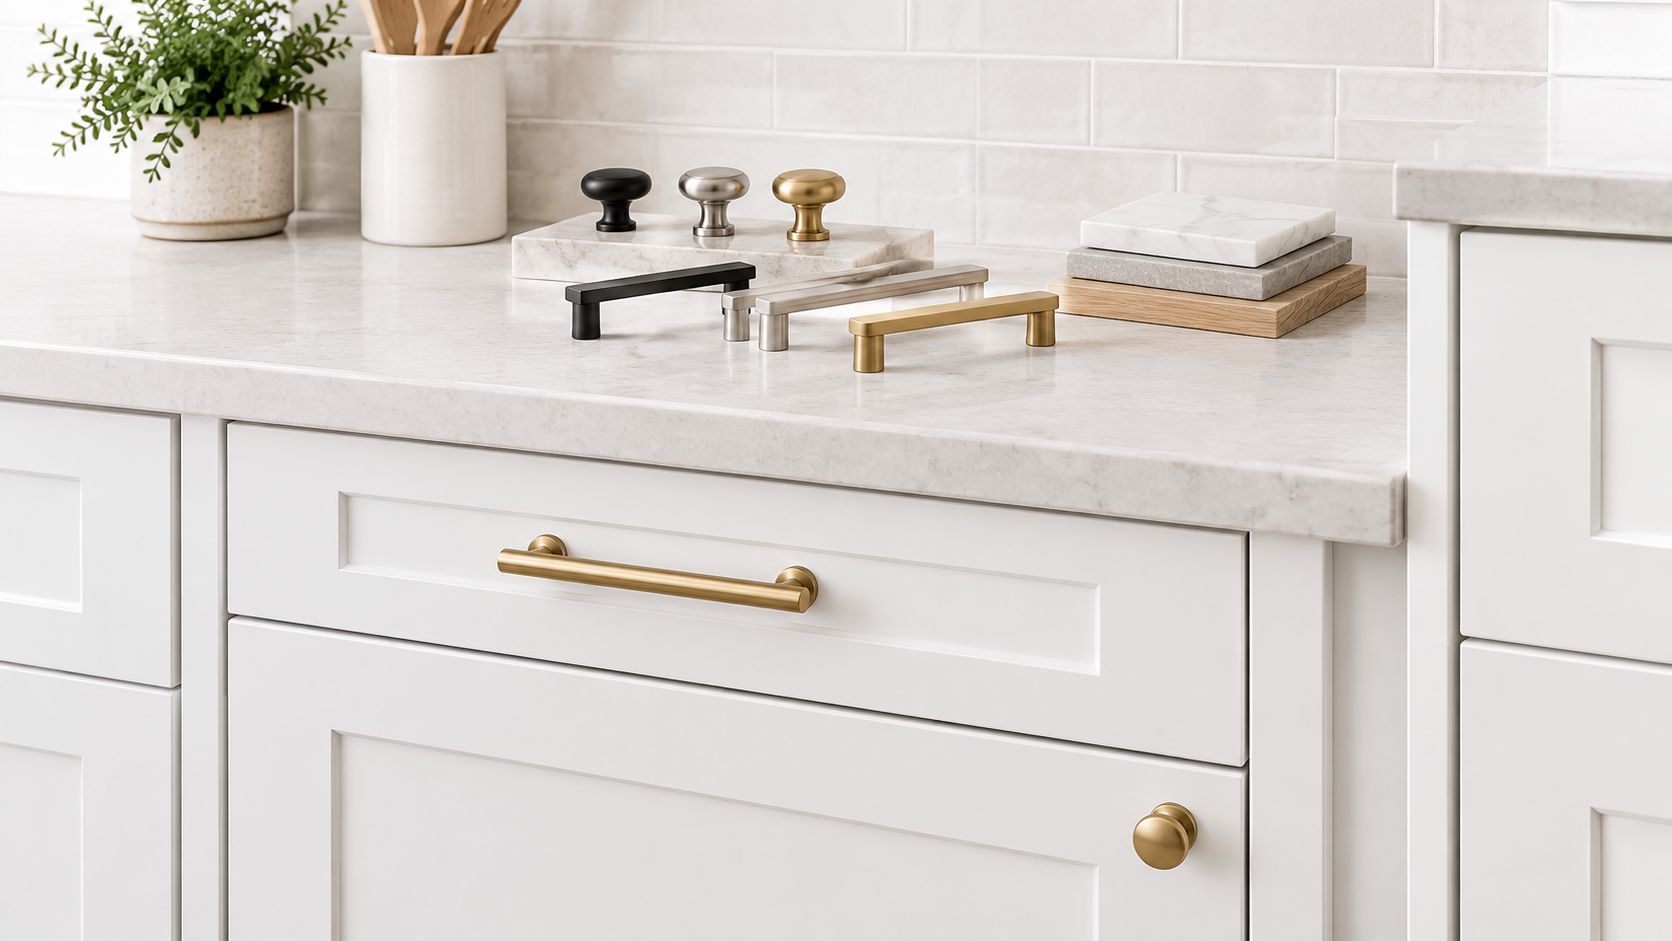
You've chosen white cabinets, narrowed down the countertop, and opened a hardware catalog. Suddenly, a simple decision has turned into pages of black bars, gold knobs, and silver pulls that all look convincing in someone else's kitchen. Before you order, stop comparing isolated handles. The right hardware belongs to your whole kitchen, not just your cabinet color.
Table of Contents
- Why Hardware Matters More Than You Think on White Cabinets
- Choosing the Right Finish Family for Your White Cabinets
- Matching Hardware Shape to Cabinet Door Style
- Coordinating Hardware With Countertops and Backsplash
- Sizing and Placement That Actually Works on White Doors
- Durability and Specification Beyond the Finish Name
- Budgeting for Hardware Without Overpaying or Underbuying
Why Hardware Matters More Than You Think on White Cabinets
White cabinets leave very little room for an accidental finish decision. A dark pull becomes a visible outline; a warm metal changes how the paint reads; a bulky knob can compete with an otherwise restrained door. My recommendation is to select hardware alongside your cabinet doors, with the countertop and backsplash samples within reach.
White remains a foundational choice, not a niche preference. In the 2025 U.S. Houzz Kitchen Trends Study, 33% of surveyed renovating homeowners chose white cabinets, while 85% upgraded cabinetry. Those findings make hardware a relevant remodeling decision, but they don't tell you which finish belongs in your home.
Treat Hardware as Part of the Finish Palette
Start with the door style, then establish the metal family. Check that choice against the countertop and backsplash before settling on profile, size, durability requirements, and price. Shopping in that order prevents you from falling for a handle that doesn't belong with the materials you've already approved.
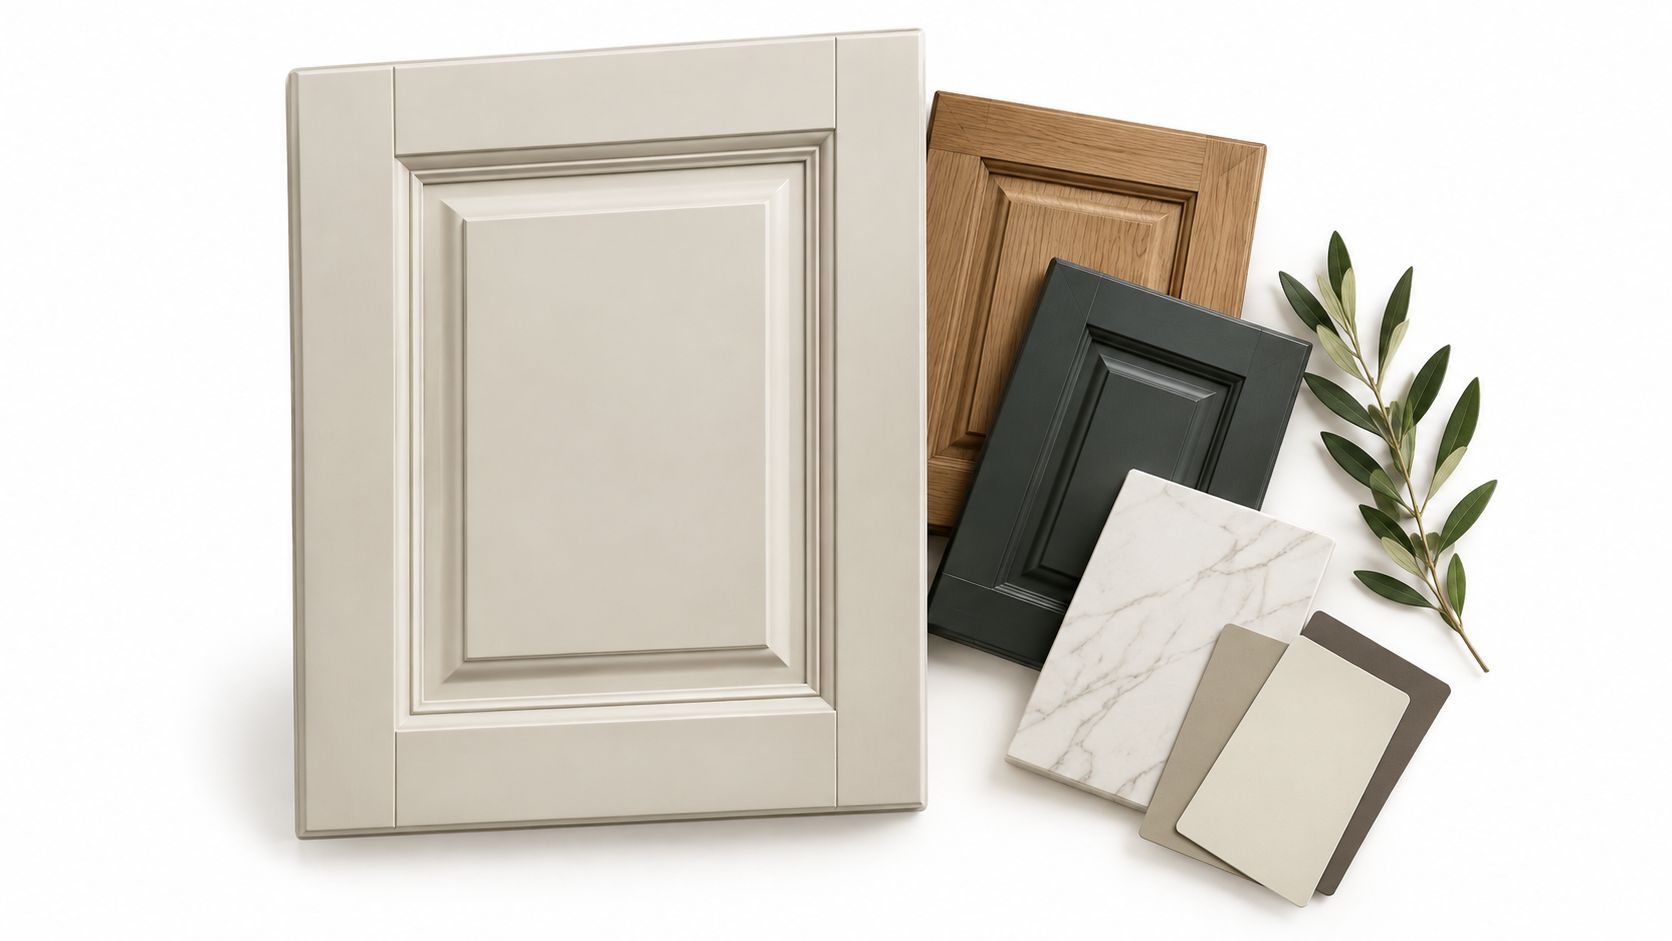
Use the visual below as a reminder to evaluate the detail against the entire cabinet, not just a tiny finish chip.

- Decide what should stand out. If the countertop is the focal point, quieter hardware is usually my preference.
- Choose the room's direction. A traditional knob and a squared-off bar can give identical doors very different personalities.
- Approve a complete combination. Keep the cabinet, countertop, tile, and hardware samples together throughout selection.
Practical rule: Don't approve a pull because it looks expensive on its own. Approve it because it makes the surrounding materials look intentional.
For a South Jersey renovation, that means making the decision in the kitchen whenever possible, not relying entirely on showroom displays.
Choosing the Right Finish Family for Your White Cabinets
Start with your white's undertone, then choose how much contrast you want. My shortlist is matte black for definition, brushed nickel for flexibility, chrome for deliberate shine, and brass or bronze for warmth.
Compare the finishes against the doors rather than judging them against a retailer's white webpage.
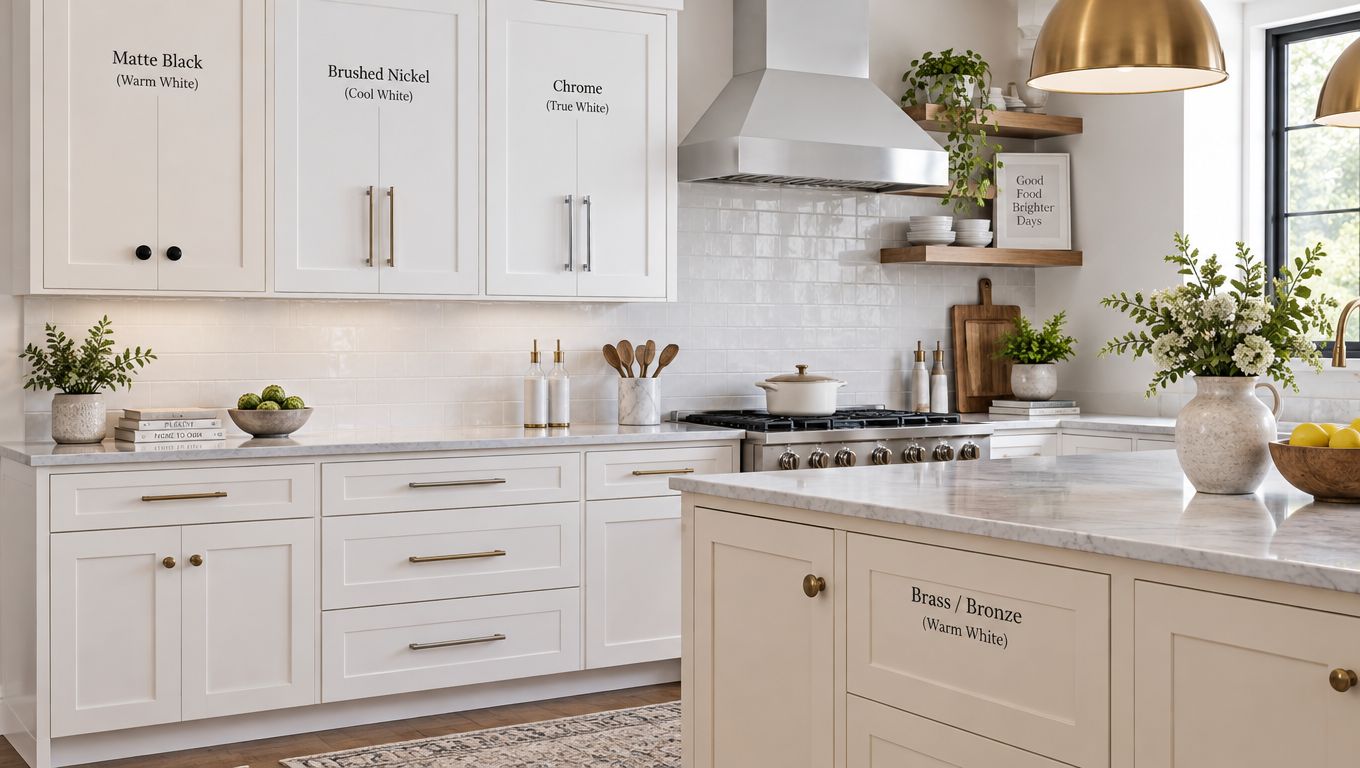
Choose Contrast Deliberately
| Finish family | My recommended starting point | What to watch |
|---|---|---|
| Matte black | True-white or cool-white doors where you want a graphic outline | Repeating dark handles across every front can feel visually busy |
| Brushed nickel | White kitchens with stainless appliances, wood accents, or an evolving palette | Compare actual samples rather than assuming every nickel finish matches |
| Chrome | Sleek contemporary doors or a deliberately polished traditional scheme | Shine can become another focal point beside reflective tile |
| Brass or bronze | Creamy whites, warm wood, and softer traditional palettes | Bright yellow brass can look harsh against a blue-leaning white |
I'd choose brushed nickel when adaptability matters most. It's a useful starting point if you expect to add a wood island or change decorative lighting later. Matte black is the stronger choice when you want the hardware itself to define the cabinetry.
Brass deserves more scrutiny than its popularity suggests. Against creamy paint, I'd sample aged or brushed brass before a bright gold finish; against a cool white, I'd insist on seeing the combination at home before approving it. Bronze is my alternative when the room needs warmth without a golden accent.
For another visual reference while comparing these options, use the video below.
Test the Finish in Your Actual Light
Hold each candidate against the door in daylight and under your evening kitchen lighting. Look at the cabinet paint beside the metal, then step back and judge the combination from the room entrance. Reject a finish that only works under the showroom's lighting.
Don't chase a universal winner. The most useful kitchen cabinet hardware for white cabinets is the finish that suits your particular white and your intended level of contrast.
Matching Hardware Shape to Cabinet Door Style
A Shaker door doesn't need a complicated handle to look finished. A slab door doesn't automatically need concealed hardware. Choose the profile by looking at the door's construction, then confirm that someone can comfortably grip it.
If you're still comparing fronts, review these cabinet door styles before ordering decorative hardware. A change in door detail can alter the proportions you'll want from the handle.
Hardware Profiles That Fit Common Cabinet Door Styles
| Cabinet Door Style | Recommended Hardware Profiles | Avoid |
|---|---|---|
| Shaker | Simple bar pulls, round knobs, cup or bin pulls on drawers | Oversized decorative bases that crowd the frame |
| Slab | Longer bar pulls, edge pulls, restrained geometric knobs | Tiny hardware that looks disconnected from a broad front |
| Inset | Compact knobs, restrained pulls, compatible integrated options | Approving projection without checking neighboring doors |
| Beadboard | Rounded knobs, simple cup pulls, understated traditional handles | Profiles that compete with the bead detail |
| Raised panel | Shaped knobs, modestly decorative pulls | Stacking elaborate hardware onto already elaborate doors |
Inset describes how the door fits, not a hardware style. Don't assume an edge pull is suitable just because it looks discreet. Verify the door thickness, mounting requirements, surrounding clearance, and swing with the cabinet supplier.
Let Your Hand Make the Final Decision
An attractive profile still has to work for the people using the kitchen. An ergonomics review available through Purdue University recommends keeping handles easy to reach and placing wall cabinets as low as practical to improve access.
For a multigenerational household, I'd test a generous open pull before committing to a small knob. Ask the intended users to try the sample with relaxed hands, not a careful showroom pinch. Compare finger clearance, wrist position, and the effort needed to operate the actual drawer.
A handle isn't comfortable because it looks rounded. It's comfortable when the person using it can grip and release it without awkward movement.
Cup pulls require access from below; edge pulls require a usable lip. Neither should win on appearance before that grip test.
Coordinating Hardware With Countertops and Backsplash
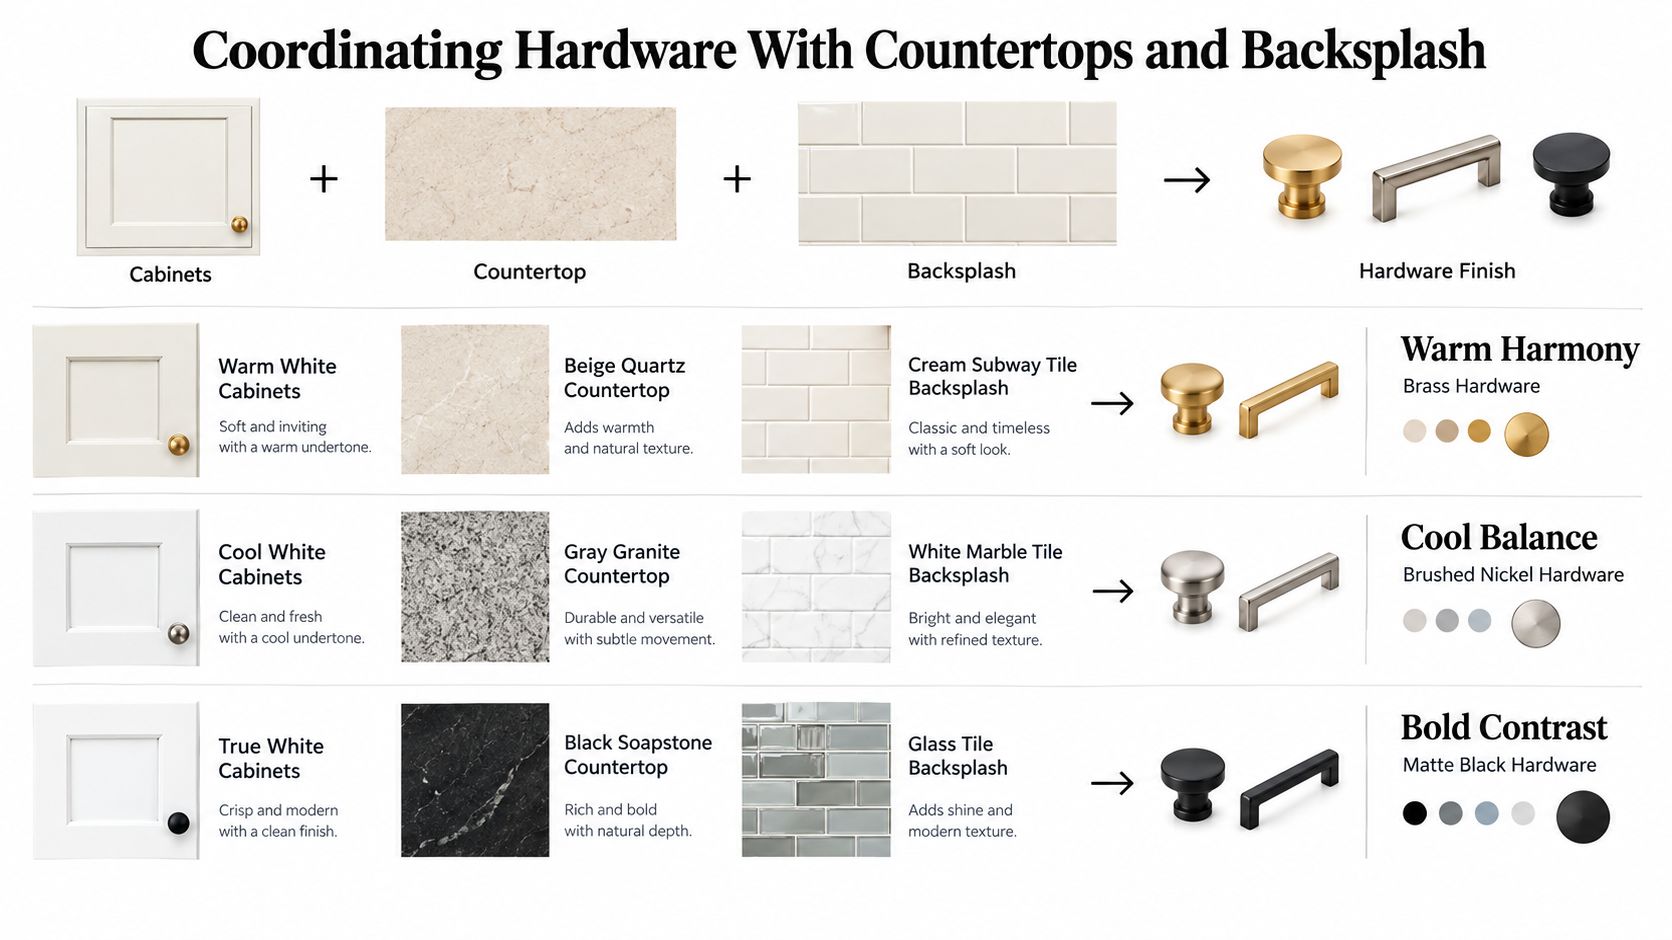
Put the cabinet, countertop, and backsplash together before introducing the hardware sample. You're deciding whether the metal should reinforce their shared tone or provide an intentional contrast. I'd rather see a quiet pull beside expressive stone than another competing decorative feature.
Light surfaces deserve particular attention. In the 2025 Houzz kitchen study, 41% of respondents selected white countertops and 35% selected white backsplashes. When several large surfaces are light, the hardware becomes an especially visible part of the palette.
Finish Pairings Worth Sampling
These are design starting points, not rules that override your actual materials.
| Cabinet and Countertop | Backsplash Direction | Hardware to Sample | Intended Effect |
|---|---|---|---|
| Warm white with honed marble | Cream or warm neutral tile | Aged brass or oil-rubbed bronze | A softer, warmer composition |
| Cool white with gray-veined quartz | Gray or muted blue tile | Brushed nickel | Restrained coordination |
| True white with a dark countertop | Simple white or glass tile | Matte black | Deliberate graphic contrast |
| White perimeter with a wood island | Understated neutral tile | Brushed nickel or muted brass | A connection between painted and natural surfaces |
For the countertop decision itself, compare these countertop colors for white cabinets before locking in the metal.
Use this palette chart to compare the relationships at a glance.
Give Each Metal a Clear Role
You don't have to match cabinet hardware to the faucet. My preference is a consistent cabinet-hardware finish, with a different metal assigned deliberately to plumbing or lighting. For example, brushed nickel pulls can sit comfortably in a scheme where a brass faucet is the intentional accent.
Include countertop accessories in that review. Water Filter Advisor's resource can help you find a dispenser that matches your kitchen if a visible dispenser is part of the plan.
- With expressive stone: Favor a simpler hardware profile.
- With patterned tile: Avoid adding unrelated decorative motifs through the knobs.
- With contrasting cabinetry: Carry the hardware finish across the cabinet colors unless there's a clear design reason to separate them.
Sizing and Placement That Actually Works on White Doors
Don't drill from a photograph. A handle that looks perfectly placed online may crowd your door frame, collide with an adjacent wall, or leave insufficient hand clearance. White doors also make a misplaced hole an unforgiving mistake.
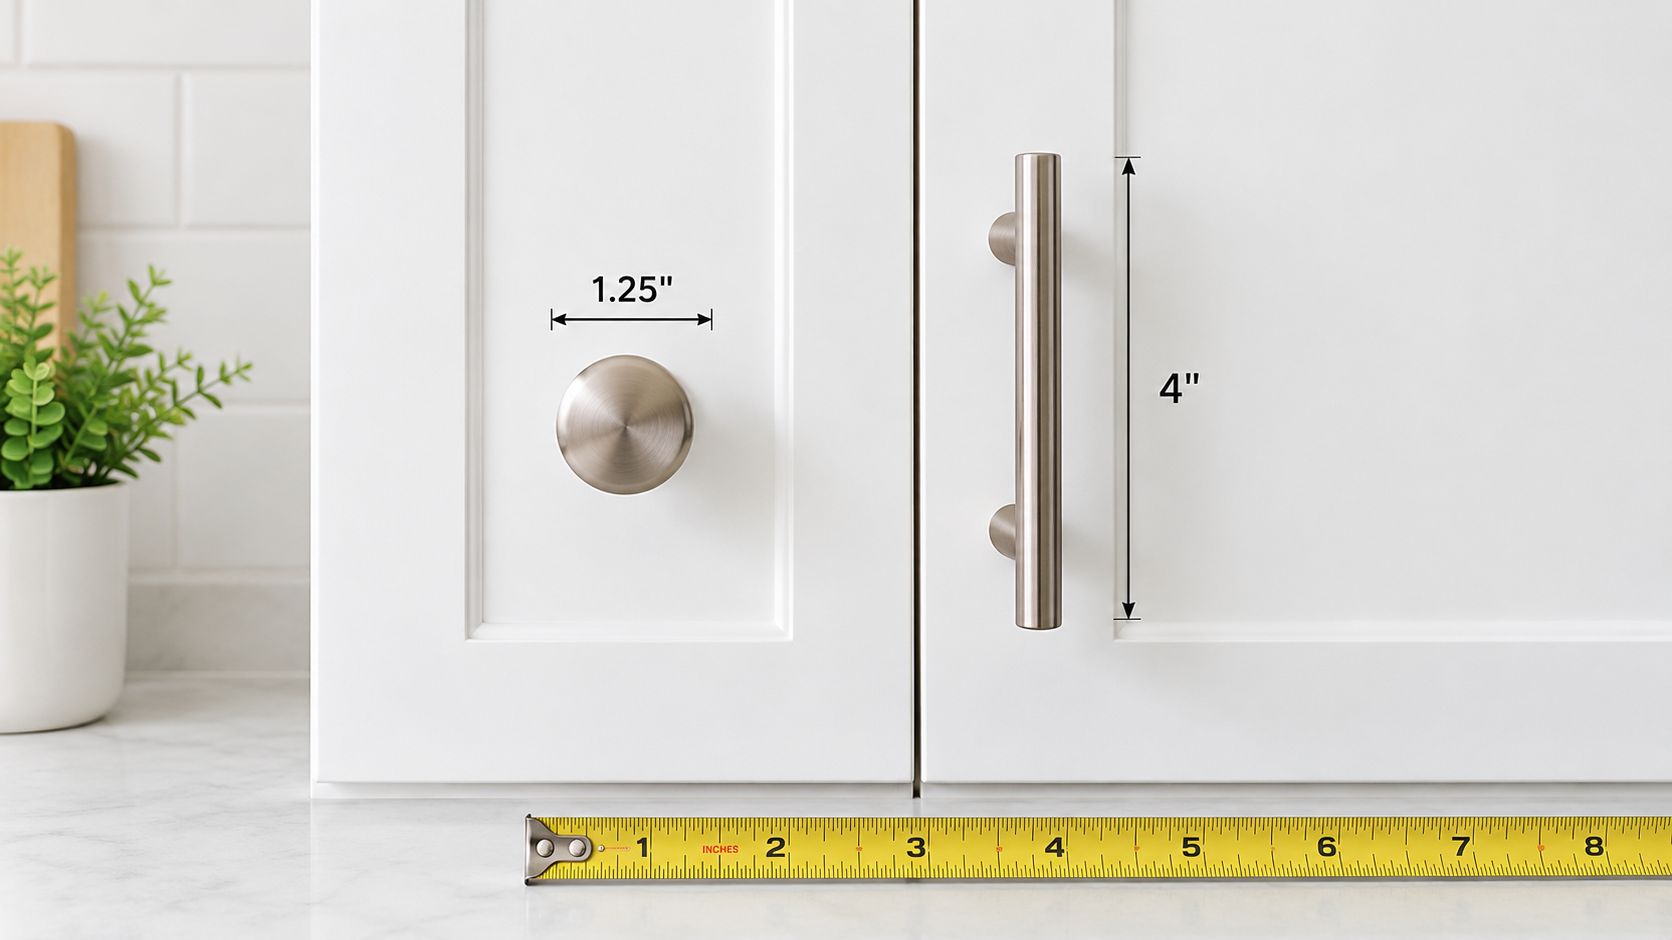
Start with the manufacturer's center-to-center measurement, which is the distance between mounting holes, not the overall pull length. Verify that dimension against the actual sample and the usable rail or stile. Existing holes must govern replacement choices unless you've planned a proper repair and refinishing process.
Establish the Position Before Making Holes
Common guidance places door knobs or short pulls approximately 2.5–3 inches from the relevant top or bottom and side edges, while drawer pulls are generally centered horizontally, according to this cabinet-hardware installation checklist. Treat that as a starting point, not permission to ignore the door profile or your reach.
Use the measuring illustration to understand the layout, then verify every dimension on your own cabinetry.
Follow a Template-First Workflow
- Make a full-scale template. Use cardboard to approve the appearance, then a stable drilling jig for repeatable installation.
- Tape and mark. Apply removable tape and measure from the same corresponding door edges. Don't use a variable cabinet opening as your reference.
- Prototype a representative front. Check the grip, swing, adjacent-wall clearance, and alignment with neighboring drawers before repeating the layout.
- Drill the pilot carefully. Confirm rear clearance, work from the finished face, and use a sharp bit with a clamped backer to limit chip-out.
- Enlarge and secure. Finish the hole to the required diameter, then tighten the screw snugly without crushing the panel or stripping the thread.
For upper doors, hardware typically belongs near the lower opening corner; lower doors require the opposite approach. Label your templates so the installer doesn't accidentally reverse those positions.
Before drilling: Open every nearby door, drawer, and appliance. A pull that clears the cabinet beside it may still strike an appliance handle.
Review this cabinet hardware placement guide when planning the layout. If you're deciding between replacing cabinetry and updating existing fronts, Value Tools Co.’s discussion of cabinet cost ranges and installation tradeoffs provides broader budgeting context.
Keep sizes consistent across comparable stacked drawers. Where a larger drawer needs a different pull, make that a documented choice rather than an installer's improvisation.
Durability and Specification Beyond the Finish Name
“Matte black” tells you what a handle should look like. It doesn't tell you what's underneath, how the coating was applied, or which cleaners the manufacturer allows. Buy a documented specification, not just a finish name.
For ordinary residential moisture, 304 stainless steel is a practical starting point; consider 316 stainless steel for coastal or unusually corrosive exposure, as outlined in this stainless-steel hardware material guide. Ask for the grade rather than accepting an unspecified stainless-steel label.
Ask the Supplier for Evidence
Salt-spray testing can help you compare documented products, but it isn't a household-life guarantee. Request ASTM B117 documentation for plated or coated finishes, and ask what was tested: the substrate, the coating system, or the finished assembled product.
Use this specification checklist before approving an order:
- Substrate: Identify the base metal and grade, not just its appearance.
- Finish process: Ask whether the product is plated, coated, or left as a living finish.
- Test documentation: Request the test method, exposure duration, and acceptance criteria.
- Fasteners: Confirm screw material and compatibility with the hardware.
- Care restrictions: Get written cleaning instructions.
- Warranty: Check exclusions for corrosion, discoloration, coating wear, and coastal installation.
XTREME EDEALS INC.’s resource on testing hardware that lasts is another starting point for preparing supplier questions. Treat general testing information as background, not as proof that a particular pull has passed a test.
Specify for the Location
A sink-side cabinet deserves closer scrutiny than a dry pantry door. Trapped moisture, damaged coatings, unsuitable cleaners, and contact between incompatible metals can undermine an otherwise sensible selection. I wouldn't choose unspecified zinc-plated carbon steel for a frequently wet location to reduce the purchase price.
Keep decorative hardware and operating hardware on separate approval lists. Hinges and slides need their own functional review; this guide to soft-close cabinet hardware addresses that part of the specification.
On white paint, rust staining and worn edges are difficult to overlook. Inspect the sample's underside, mounting points, and corners as carefully as its visible face.
Budgeting for Hardware Without Overpaying or Underbuying
The wrong way to budget is to choose a favorite pull, multiply by the cabinet count, and hope installation fits whatever remains. Build a complete schedule first: doors, drawers, appliance panels, required sizes, fasteners, and installation work. Then compare quotations for the same scope.
I wouldn't give a useful per-piece price without a product specification. Material, construction, finish process, size, and purchasing terms all belong in the comparison. A premium label isn't a substitute for those details.
Compare Tiers by What You're Buying
| Budget Tier | What I'd Prioritize | What I'd Question |
|---|---|---|
| Value | Comfortable standard profiles, clear specifications, consistent samples | Vague materials and unavailable replacements |
| Mid-range | Broader size options, documented finish care, coordinated knobs and pulls | Paying extra for appearance without better information |
| Premium | A distinctive profile, specified solid materials, specialty finishes where wanted | Custom details that don't improve the room or daily use |
Die-cast zinc and solid brass belong in the specification, but neither should be judged by material name alone. Likewise, imported versus domestic manufacture doesn't settle the quality question. Ask what the additional expenditure buys.
Spend Where You Touch and See It
For a practical allocation, I'd protect the budget for comfortable pulls on frequently used drawers and prominent cabinet runs. I'd also scrutinize hardware near the cooking and cleanup areas, where the finish will need an appropriate care routine.
Economize by simplifying the design, not by accepting an unknown coating. A straightforward matching knob on an upper cabinet can be a better compromise than an elaborate pull with unclear specifications. A separate pantry can use a simpler profile while remaining related to the main kitchen.
Labor needs its own allowance. Review these cabinet hardware installation cost considerations and ask whether your installer's quote includes layout approval, drilling, fasteners, and adjustments. Retrofitting existing fronts should be discussed separately from installing hardware on undrilled doors.
Make the Final Approval Deliberate
Before placing the full order, confirm the following:
- Samples: Review the actual finish and undertones in daylight and evening light.
- Usability: Test finger clearance and grip on representative doors and loaded drawers.
- Dimensions: Confirm mounting-hole spacing, overall length, and projection.
- Screws: Match the fastener length to each door and drawer-front assembly.
- Quantities: Reconcile the order against the cabinet schedule, including specialty fronts.
- Policies: Verify returns, restocking conditions, finish warranties, and replacement availability.
Keep the approved sample, product code, finish designation, and placement template together. That small record makes it easier to resolve delivery discrepancies and order a matching replacement later.
The goal isn't the lowest-priced handle or the most conspicuous upgrade. It's a complete, comfortable, well-specified hardware package that belongs with the kitchen you're building.
For homeowners in Cherry Hill and surrounding South Jersey communities, The Cabinet Coach offers a mobile showroom that brings cabinetry, countertop, tile, and hardware samples into your home for side-by-side review. Start with a complimentary video consultation, then arrange an in-home comparison to settle the finish, grip, placement, and budget before anyone drills your white cabinet doors.