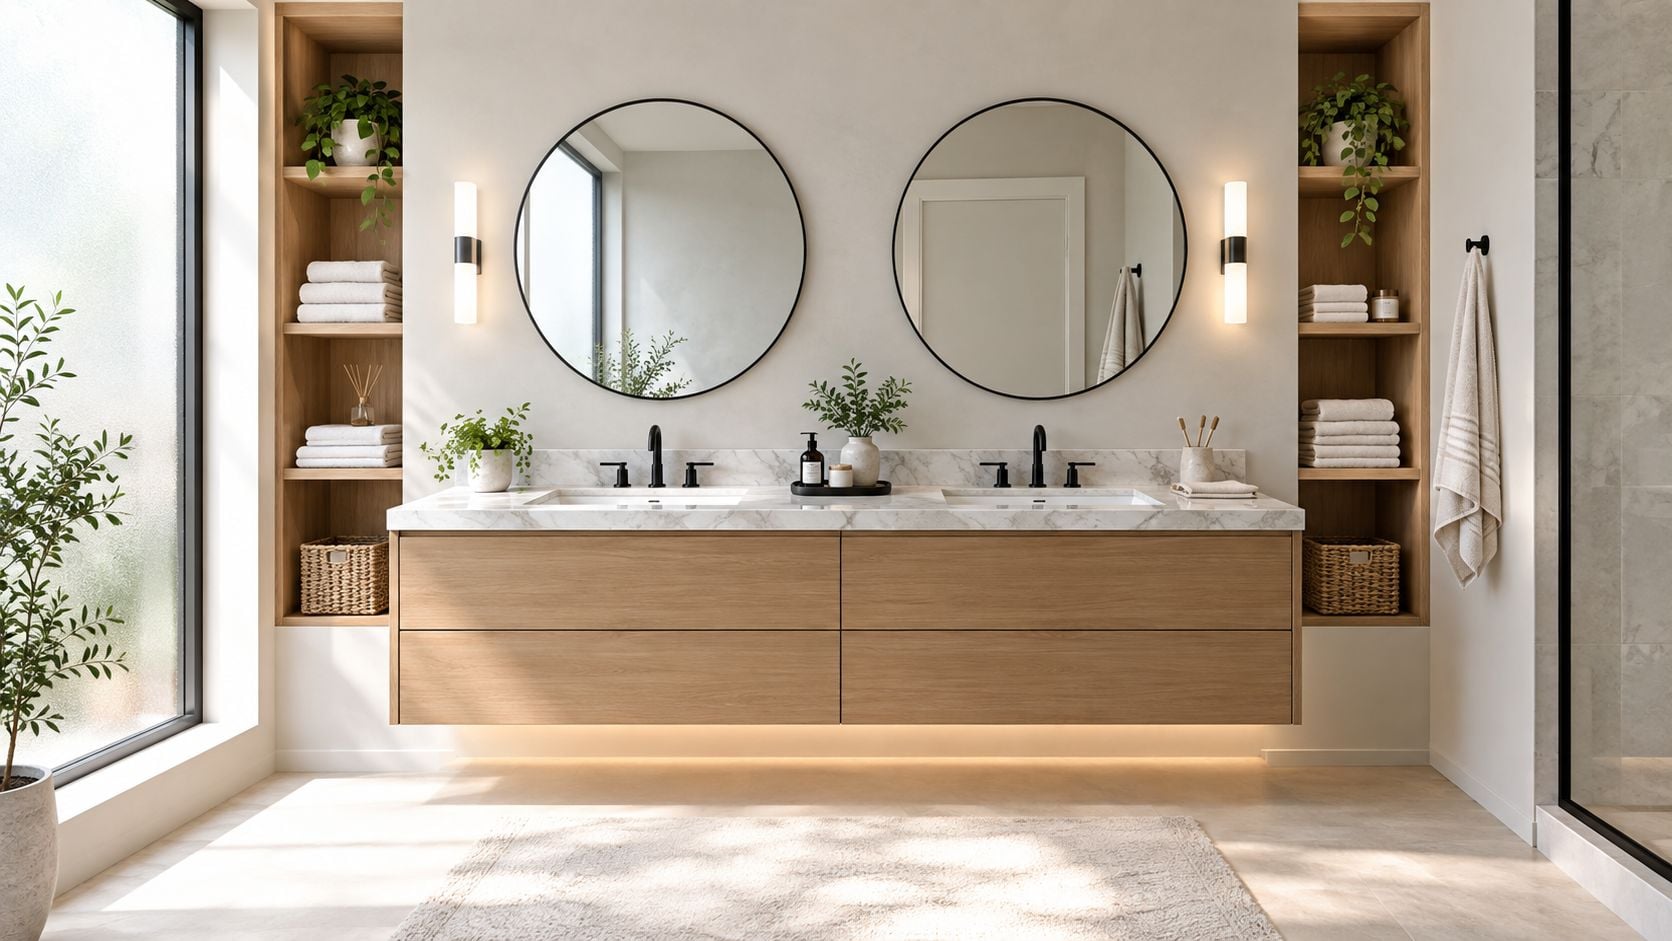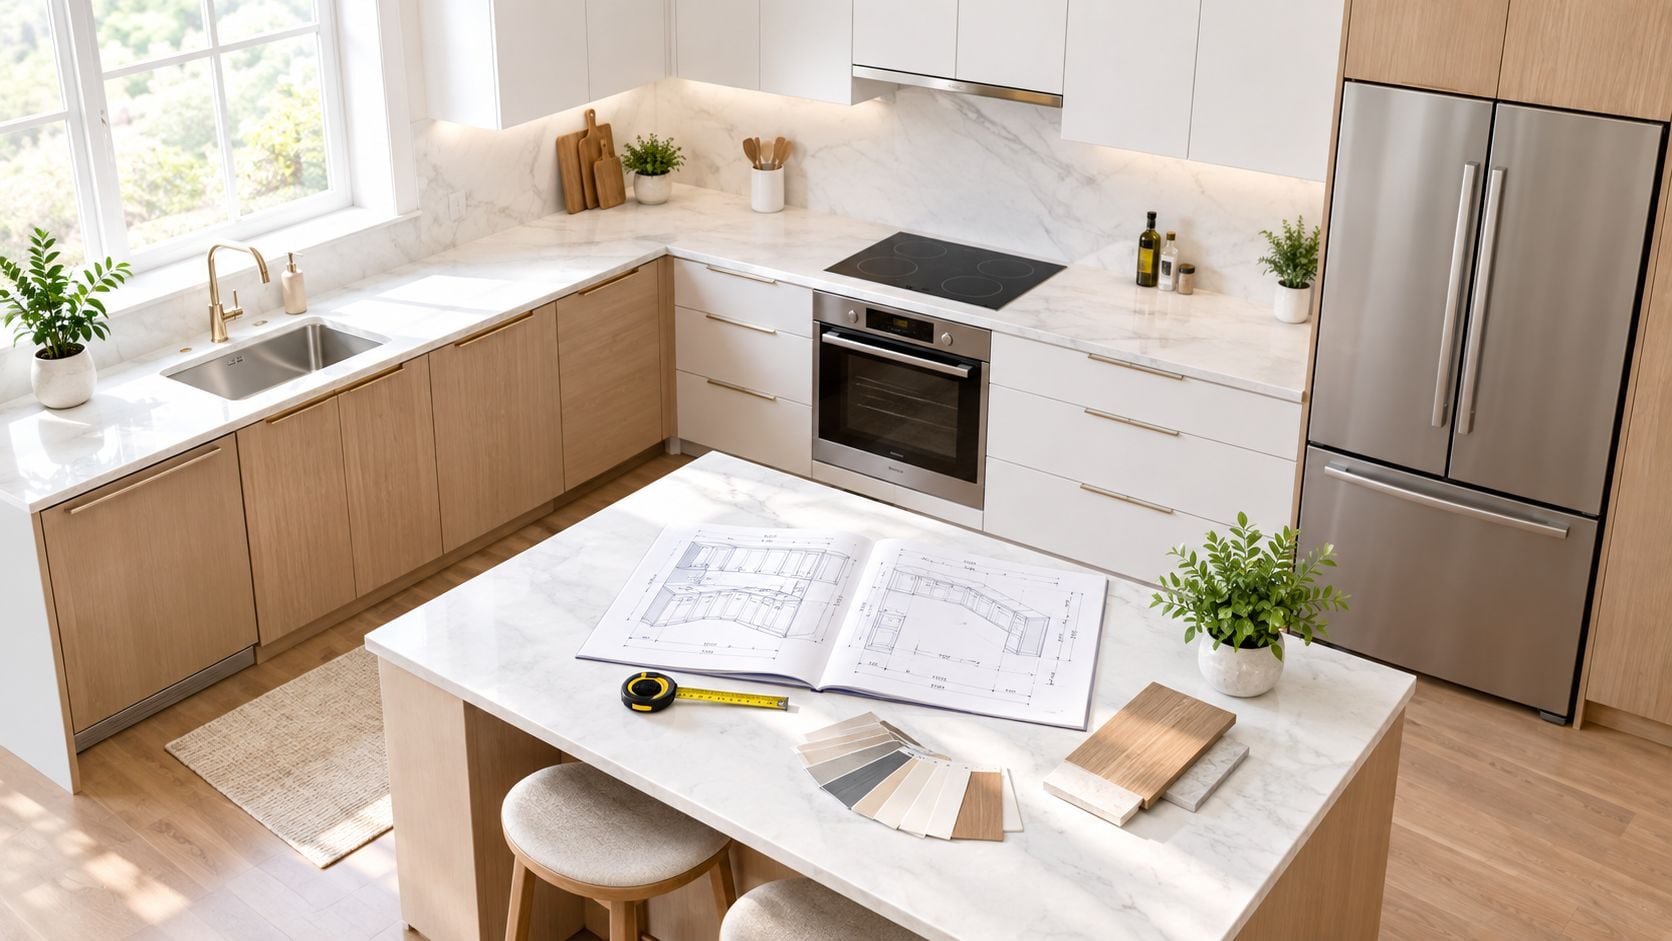
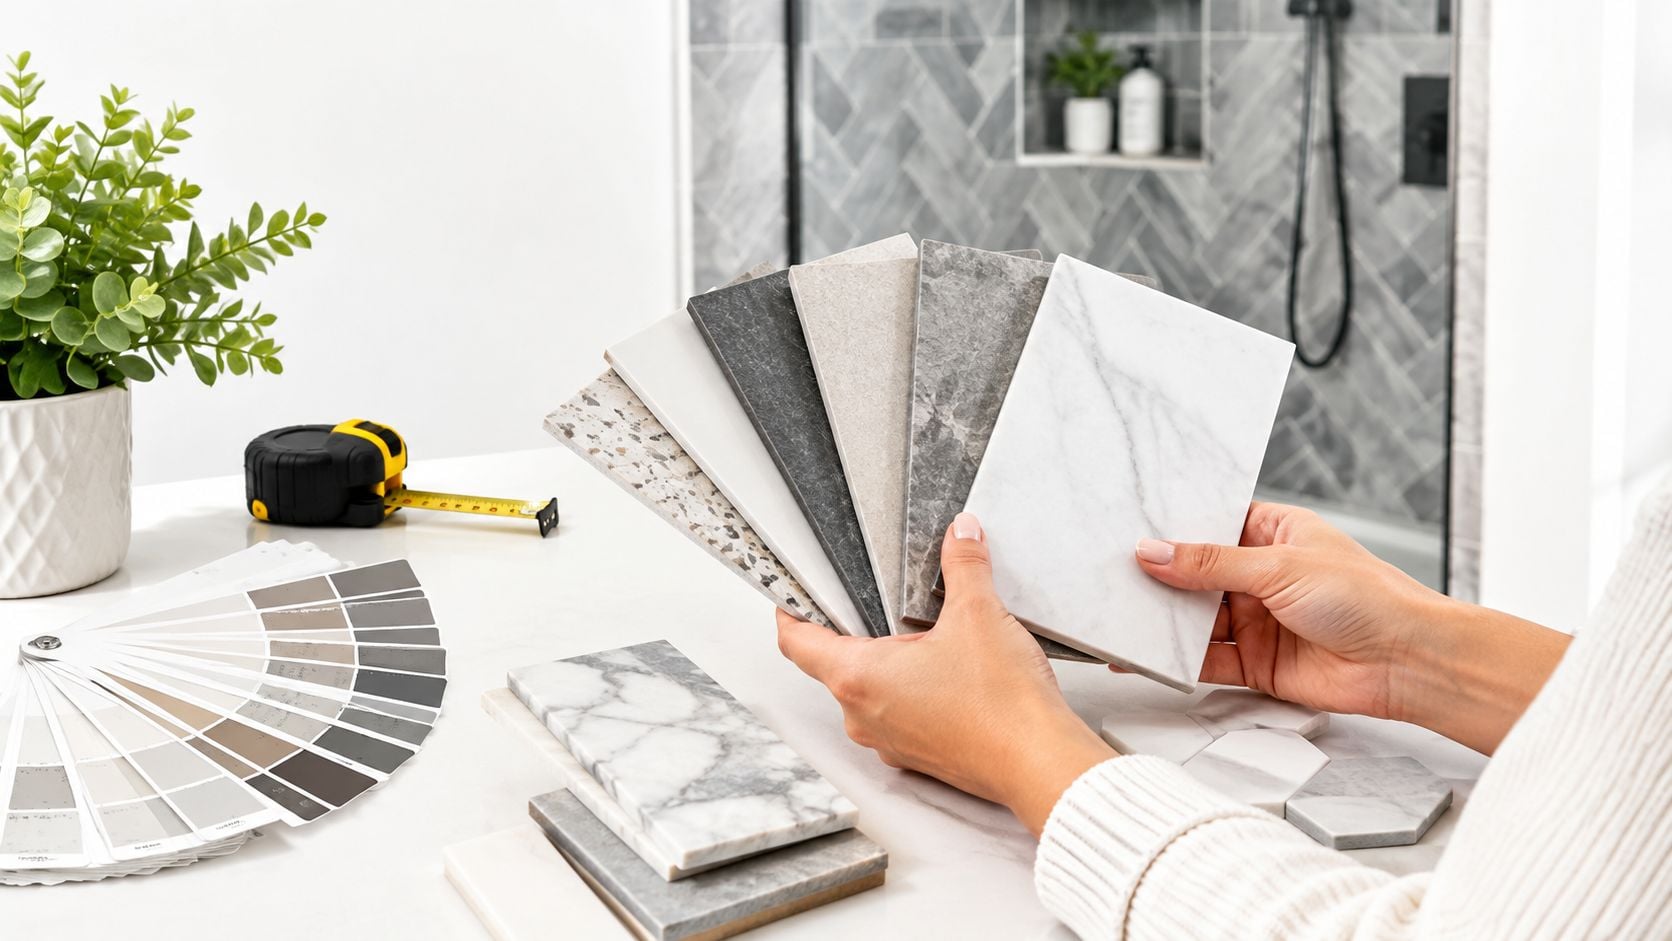
The most popular advice about bathroom tile is to start with color, pattern, and whatever look dominates your saved inspiration photos. That's backwards. A bathroom tile can be gorgeous under showroom lighting and still become a maintenance headache, a moisture problem, or a genuine slip hazard once it meets soap, bare feet, South Jersey humidity, and an imperfect older subfloor.
The better question is not, “Which tile looks best?” It's, “Which tile will keep looking good and working safely in this specific wet zone?” Start with water absorption, wet slip resistance, drainage, grout maintenance, and installation conditions. Then choose the style. That order gives you a bathroom you'll still enjoy long after the trend cycle moves on.
Table of Contents
- Why Trending Bathroom Aesthetics Can Backfire
- Decoding Water Absorption and Slip Resistance Ratings
- Evaluating Tile Materials and Formats for Wet Zones
- Strategic Grout Selection and Layout Planning
- Aligning Your Tile Budget with the Remodeling Process
- Final Installation Checks and Common Homeowner Questions
Why Trending Bathroom Aesthetics Can Backfire
A continuous, heavily layered bathroom design photographs beautifully. Full-height cladding, earthy colors, tactile surfaces, vintage-inspired formats, and large slabs all have a place in a thoughtful remodel. The problem begins when homeowners assume those visual choices automatically create a low-maintenance room. Current trend coverage promotes textured finishes, wraparound tile, and seamless-looking surfaces, but often gives limited guidance on cleaning demands, shower-floor grip, installation complexity, or long-term durability. House Beautiful's 2026 tile trend coverage shows the design direction clearly, but inspiration still needs a performance filter.
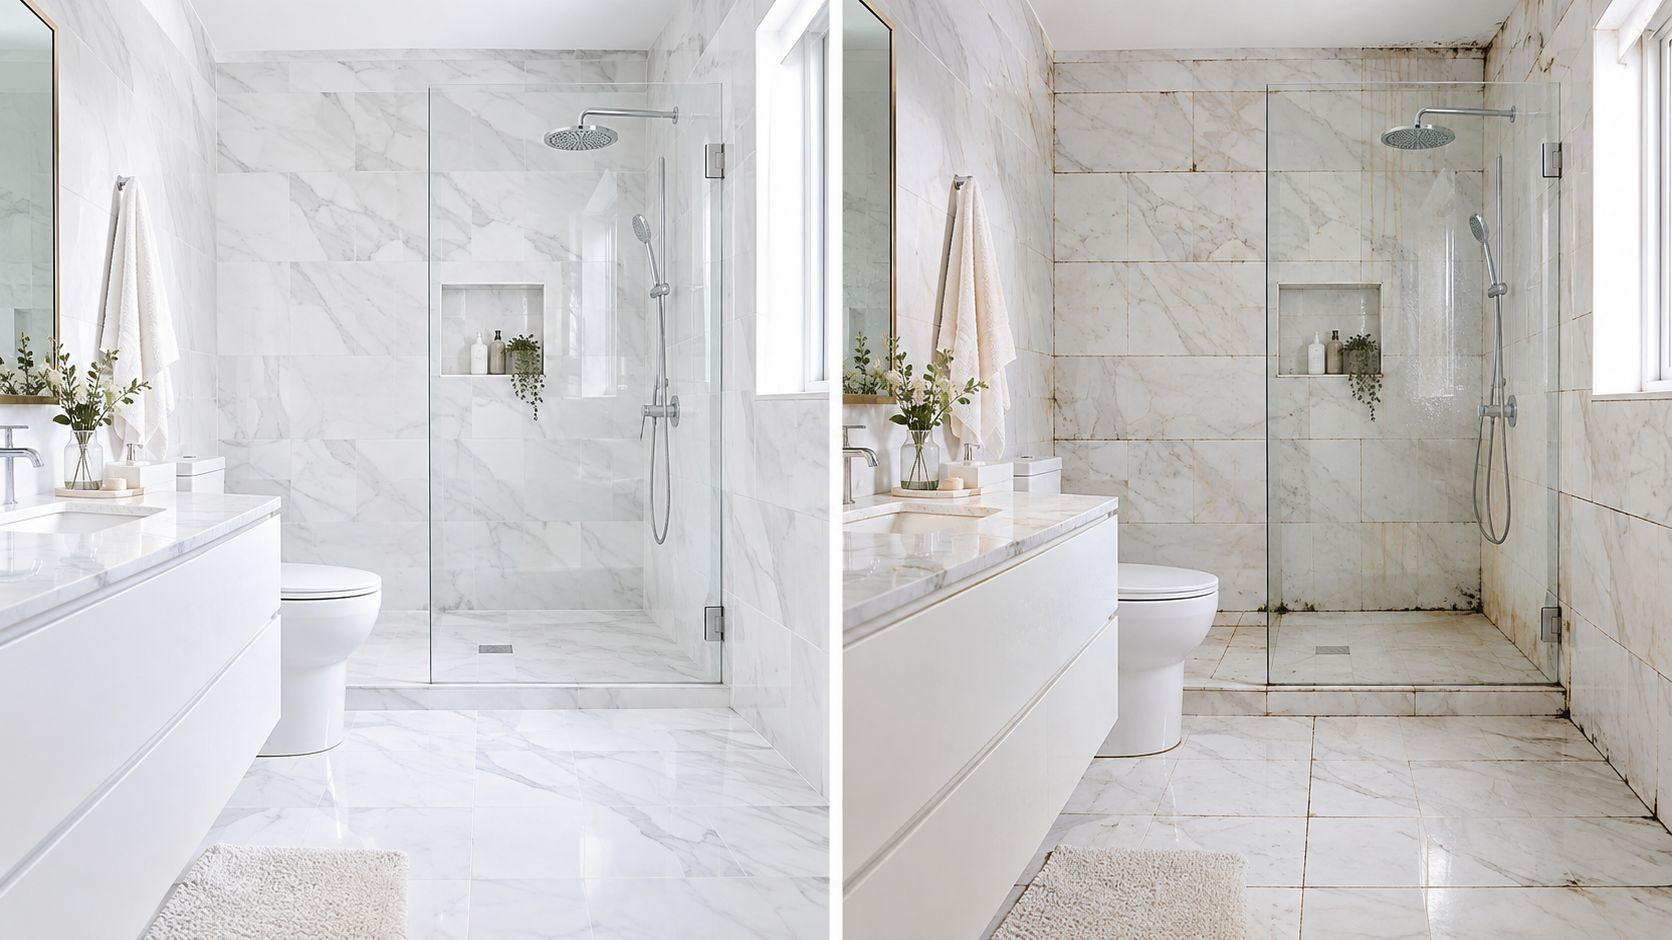
Texture has a cleaning cost
A textured wall tile catches light and adds depth. In a shower, that same texture can collect soap residue, mineral deposits, hair, and dust in places a squeegee or sponge can't easily reach. Deep relief is especially demanding around niches, corners, and plumbing penetrations, where cleaning tools have limited access.
Earthy tones can be forgiving visually, but a tile's color doesn't solve surface buildup. A pale grout joint beside a tactile tile will still show discoloration. A dark, uneven surface may conceal residue until it becomes difficult to remove. If your household wants a shower that can be cleaned quickly, choose texture selectively. Use it on a vanity wall or a controlled accent, not automatically across every wet surface.
Practical rule: If you can't comfortably wipe the sample with a microfiber cloth, don't use it across the entire shower.
Large format reduces grout, not complexity
Large-format tile and slabs create a calm, continuous appearance with fewer grout joints. That can simplify routine wiping on a broad, flat wall. It doesn't make installation simple. Large pieces demand accurate measurements, careful handling, suitable setting materials, and a substrate that is properly prepared and flat.
Many South Jersey homes have older construction, additions, or previous remodeling layers that aren't perfectly level. A large tile can telegraph those irregularities, create lippage, or force awkward cuts around niches and corners. The visual payoff is real, but the installer must verify the wall and floor before the order is finalized.
Choose the room you'll live with
A practical bathroom usually uses more than one tile format. A restrained large tile may work well on a shower wall, while a smaller mosaic provides more grout lines and more opportunities to follow the slope toward a drain on the shower floor. A smooth, low-maintenance porcelain may carry the main surfaces, while a decorative material appears in a carefully chosen dry location.
The strongest design isn't the one that copies a trend from edge to edge. It's the one that assigns each material to the zone where it performs well. Beauty should survive contact with water, cleaning, bare feet, and the people who use the room every day.
Decoding Water Absorption and Slip Resistance Ratings
Before you compare beige against greige, read the technical sheet. Water absorption tells you how much moisture a tile can take in, while wet Dynamic Coefficient of Friction, or DCOF, helps indicate how the surface performs underfoot when wet. Neither metric replaces proper waterproofing or sound installation, but both prevent an expensive visual decision from becoming a functional mistake.
Water absorption classes
Tile specifications commonly divide products into four absorption classes:
- Impervious: 0.5% absorption or less. Porcelain typically falls into this range and is preferred for floors and shower areas with frequent water exposure. The Home Depot's ceramic tile label guidance explains these classification ranges.
- Vitreous: 0.5% to 3.0% absorption. These products can suit wet rooms when the manufacturer approves the intended application.
- Semi-vitreous: 3.0% to 7.0% absorption. Treat these cautiously in areas that receive repeated water.
- Non-vitreous: Above 7.0% absorption. These tiles aren't recommended for bathroom wet areas.
A useful buying rule is below 7% for occasionally wet bathroom areas and below 3% for constantly wet locations such as showers. For the most water-exposed surfaces, choose an impervious or vitreous product and confirm the installation approval. The Home Depot's tile buying guide provides the broader selection framework.
Don't stop at the word “waterproof.” A tile can absorb very little moisture and still feel slick underfoot if its surface finish lacks suitable wet traction.
DCOF is the number to request
For level interior tile floors intended to be walked on while wet, ANSI A137.1 uses a minimum wet DCOF of 0.42. Ask the dealer or manufacturer for a published wet rating, not a vague label such as “non-slip.” Daltile's explanation of DCOF testing explains why modern wet-friction testing is intended to better reflect actual floor conditions.
For especially wet environments such as public showers or locker rooms, a wet DCOF threshold of 0.60 is used. That doesn't mean every residential bathroom requires the same specification, but it does show why a barrier-free shower, a household with young children, or an aging-in-place bathroom deserves a more conservative conversation about traction, drainage, and surface texture.
For a homeowner, the checklist is simple:
- Identify the zone, wall, floor, shower wall, or shower floor.
- Confirm the absorption class.
- Request the published wet DCOF.
- Ask whether the finish is approved for the intended use.
- Review the drain layout and slope with the installer.
If you're comparing shower surfaces, this guide to shower floor options can help you think beyond color and format. The safest selection is the one that combines suitable absorption, verified wet traction, and a layout that directs water where it belongs.
Evaluating Tile Materials and Formats for Wet Zones
Tile materials don't perform identically, and one material shouldn't automatically cover every surface. Porcelain is the dependable workhorse for wet floors because industry guidance treats 0.5% water absorption or less as the benchmark for porcelain and impervious tile. This bathroom tile selection guide also places wet DCOF of 0.42 or higher at the center of decisions for level interior floors walked on while wet.
Ceramic can work beautifully on walls and selected floors when its specifications suit the zone. Natural stone brings depth and unique veining, but it often asks more from the homeowner through sealing, cleaning, and stain management. Glass is compelling for walls and accents, but it isn't my first choice for a floor that receives regular impact or foot traffic.
| Material Type | Water Absorption | Maintenance Level | Best Application Zone |
|---|---|---|---|
| Porcelain | Typically impervious, 0.5% or less | Low, subject to grout and finish | Bathroom floors, shower floors with suitable wet rating, shower walls |
| Ceramic | Varies by product and absorption class | Low to moderate | Walls, backsplashes, and approved bathroom floors |
| Natural stone | Varies by stone and finish | Moderate to high | Dry walls, accent areas, and carefully specified floors |
| Glass | Product-specific, often low absorption | Moderate, especially around grout | Shower walls, niches, and decorative accents |
Match format to drainage
Large-format slabs make sense on a broad shower wall where fewer joints support a quiet visual field. They're less forgiving on a shower floor, where the installer must create a consistent slope to the drain without forcing the tile to bridge or distort across changes in plane.
Small mosaics offer more joints and more individual pieces to follow the shower floor's contours. That can improve layout flexibility and give the foot more grout interfaces, but it also increases cleaning work. Don't choose a mosaic solely because it looks luxurious. Review the grout color, cleaning routine, and wet rating of the actual product.
Assign each material a job
I'm comfortable using polished marble on a dry vanity wall or a limited decorative panel. I'm not comfortable specifying it automatically for a family shower floor without reviewing absorption, finish, sealing requirements, and traction. Honed porcelain can deliver a stone-like appearance with fewer maintenance concerns, provided the product's wet performance suits the application.
For a broader framework on planning bathroom tile flooring, focus on the relationship between room dimensions, tile format, installation, and upkeep rather than choosing each tile in isolation. Also clarify what non-porous means before you assume a product's label tells the whole story.
Strategic Grout Selection and Layout Planning
Grout determines how the room ages. Homeowners often spend hours choosing tile and only a few minutes choosing grout, even though grout occupies every joint, frames every pattern, and absorbs much of the visual wear.
Start with the location. A shower floor has different cleaning and moisture demands from a dry backsplash. Ask the installer which grout is compatible with the tile, joint width, setting material, and expected exposure. Cementitious grout is familiar and widely used, but porous products may require sealing and careful cleaning. Epoxy and urethane grouts can offer stronger stain resistance and reduced sealing demands, though they cost more and require disciplined installation.
Make the grout color deliberate
A matching grout creates a quieter, more continuous surface. That's useful when you want a small bathroom to feel less fragmented or when the tile already has strong movement. A contrasting grout emphasizes every joint and makes a vintage format or geometric pattern more prominent.
Contrast also makes cleaning more visible. White grout beside a dark tile shows pale residue and discoloration quickly. Very dark grout can show light mineral deposits. Mid-tone grout is often the sensible compromise for a busy family bathroom because it supports the pattern without turning every joint into a maintenance reminder.
Plan the layout before ordering
A professional layout starts from the most visible and important lines, not from the first tile placed at a random corner. Center the field where it matters, protect the focal wall, and avoid ending with narrow slivers at door jambs, niches, or plumbing walls. The installer should dry-lay enough of the pattern to identify awkward cuts before adhesive reaches the substrate.
Use these checks during design review:
- Set the focal point: Align the main wall, vanity, niche, or shower valve with intentional grout lines.
- Protect the corners: Balance cuts on both sides instead of allowing one conspicuous sliver to dominate.
- Coordinate planes: Decide whether floor and wall joints should align, complement each other, or intentionally differ.
- Respect movement: Keep decorative patterns away from areas where fixtures, shelves, and hardware will interrupt them.
For a compact bathroom, layout discipline matters even more because every wall is visible. Review practical small bathroom design ideas for Cherry Hill before you commit to a pattern that creates excessive cuts or visual noise.
A tile layout is part of the architecture. Treat it as a drawing to approve, not a detail to leave to the last morning of installation.
Aligning Your Tile Budget with the Remodeling Process
Tile price is only one line in the remodeling decision. The final result also depends on substrate preparation, waterproofing, setting materials, grout, trim, cutting, labor, delivery, and the time required to coordinate every selection. A tile that looks economical on a sample board can become expensive if it needs specialized handling or creates a difficult pattern.
The most sensible allocation is usually one focal investment and several dependable supporting materials. Spend attention, not just money, on the surface people see first. A distinctive wall tile can carry the design while a quieter porcelain handles the floor and the less visible wet surfaces.
Sample in the actual room
Never approve tile from a tiny screen image or a store display alone. Bring physical samples into the bathroom and view them beside the vanity finish, countertop, hardware, paint, and lighting at different times of day. A warm earthy tile can look muddy beside a creamy cabinet, while a cool gray can make the same room feel stark.
Check the actual sample for:
- Surface feel: Can you clean the texture without special tools?
- Wet appearance: Does the finish change dramatically when damp?
- Edge quality: Will the product need a visible trim or a carefully finished edge?
- Batch consistency: Can the supplier confirm that the material will come from a consistent dye lot?
Order samples early enough to make a calm decision. Last-minute substitutions create mismatched materials, rushed approvals, and avoidable schedule pressure.
Coordinate the sequence
Tile selection must stay synchronized with cabinetry, countertops, plumbing fixtures, glass, lighting, and the construction calendar. A slab or specialty order can affect templating, delivery, storage, and installation access. Large-format material may also require the contractor to plan handling before other fixtures enter the room.
A mobile showroom can make this process more practical by bringing curated tile and finish options into the home instead of asking you to remember how every sample looked in a separate store. The Cabinet Coach provides in-home design guidance for coordinating tile with cabinetry, countertops, hardware, and bathroom layout decisions. Review this bathroom remodel cost breakdown as a planning reference, then ask for a preliminary estimate that identifies assumptions and exclusions.
The right budget is not the lowest initial tile quote. It's a plan that accounts for performance, installation reality, lead times, and the cost of changing your mind after demolition.
Final Installation Checks and Common Homeowner Questions
The material list isn't finished when the tile is selected. Before demolition, walk through the final selections with the installer and confirm that the products, zones, layout, and preparation requirements all match. A beautiful tile cannot compensate for movement beneath it or missing waterproofing behind it.
For heavy porcelain or natural stone, ask the contractor to verify the substrate and floor structure. The installer should also confirm the waterproofing system, membrane transitions, penetrations, corners, bench, niche, and drain connection before tile covers the work. Waterproofing belongs behind the tile assembly. Grout and tile alone aren't a substitute for a properly designed wet-area system.
Questions to settle before installation
How much extra tile should I order?
The answer depends on the room shape, pattern, tile size, cuts, and future repair needs. Ask the installer to calculate the allowance from the approved layout rather than applying a generic rule. Complex patterns and fragile materials usually need a more careful quantity review.
Can radiant floor heating work beneath my tile?
Tile is commonly considered during radiant-floor planning, but compatibility depends on the heating system, underlayment, manufacturer instructions, and installation method. Confirm the complete assembly before the heating system is purchased.
How should natural stone accents be sealed?
Follow the stone and sealer manufacturer's instructions. Test the sealer on a spare piece, confirm the finish won't change undesirably, and establish a maintenance schedule with the installer. Sealing doesn't remove the need for appropriate cleaning or a suitable wet-zone specification.
What should I document?
Keep the product names, color codes, dye-lot information, grout selection, sealer, layout drawing, and care instructions together. Photograph concealed waterproofing and plumbing before the walls close, and keep spare material labeled for future repairs.
You can also use this guide to manage contractors so decisions, approvals, and site responsibilities stay clear. The final handoff should feel boring in the best possible way. Everyone should know what is being installed, where it goes, how it performs, and what the homeowner must do to maintain it.
The Cabinet Coach brings a mobile showroom and in-home design guidance to South Jersey homeowners, helping coordinate bathroom tile with cabinetry, countertops, hardware, layout, and the remodeling schedule. If you want practical selections reviewed in your actual space, visit The Cabinet Coach to arrange a complimentary video consultation and start building a bathroom that looks considered and lives well.